 Corrective maintenance of spindles: concept and process
Corrective maintenance is the key to getting your equipment back up and running again! It’s the magic solution that brings functionality back to your equipment after a failure. In industrial environments, chucks (high-speed rotating spindles on CNC machines) are absolutely vital components: any spindle failure halts machining and generates production stoppages. The great thing about spindle corrective maintenance is that it can quickly diagnose and repair these failures, minimising downtime. The great thing about corrective maintenance is that it’s performed after the spindle has already failed! This is in contrast to preventive maintenance, which is performed before failure. The great thing about this procedure is that it’s all done in one go! First, we detect the fault. Then, we disassemble the spindle. Next, we clean and replace any damaged components. And finally, we do some functional testing to make sure everything is working like it should.
 Repairing a spindle is an exciting process that involves several technical steps. First, we verify the source of the problem (e.g. shaft locking or abnormal noises). Then, the unit is disassembled to inspect the internal components, including the bearings, gears, and seals. When you’re taking it apart, be sure to take off any protective covers. You might be surprised at how easily liquids or shavings can get in if you don’t! It’s amazing how often we’ve seen this happen, and it’s all documented for future reference.
Here’s what you need to know about corrective maintenance!
We always make sure to give seals and internal bearings the once-over to make sure they’re in tip-top condition! A thorough visual inspection is key at this stage, so let’s look for oil or coolant leaks, corrosion on the spindle, bumps in the machining and other visible damage. This inspection is great because it can detect damage such as rust on the spindle (indicating seal failure or leakage) or dirt on the bearings (indicating poor sealing). The good news is that identifying these problems allows us to plan the most accurate corrective action.
We’re excited to share some great examples of these preventive maintenance concepts with you! You can find them in our article on the repair of a HSK-100 SW spindle (article in Spanish).
General corrective maintenance procedure
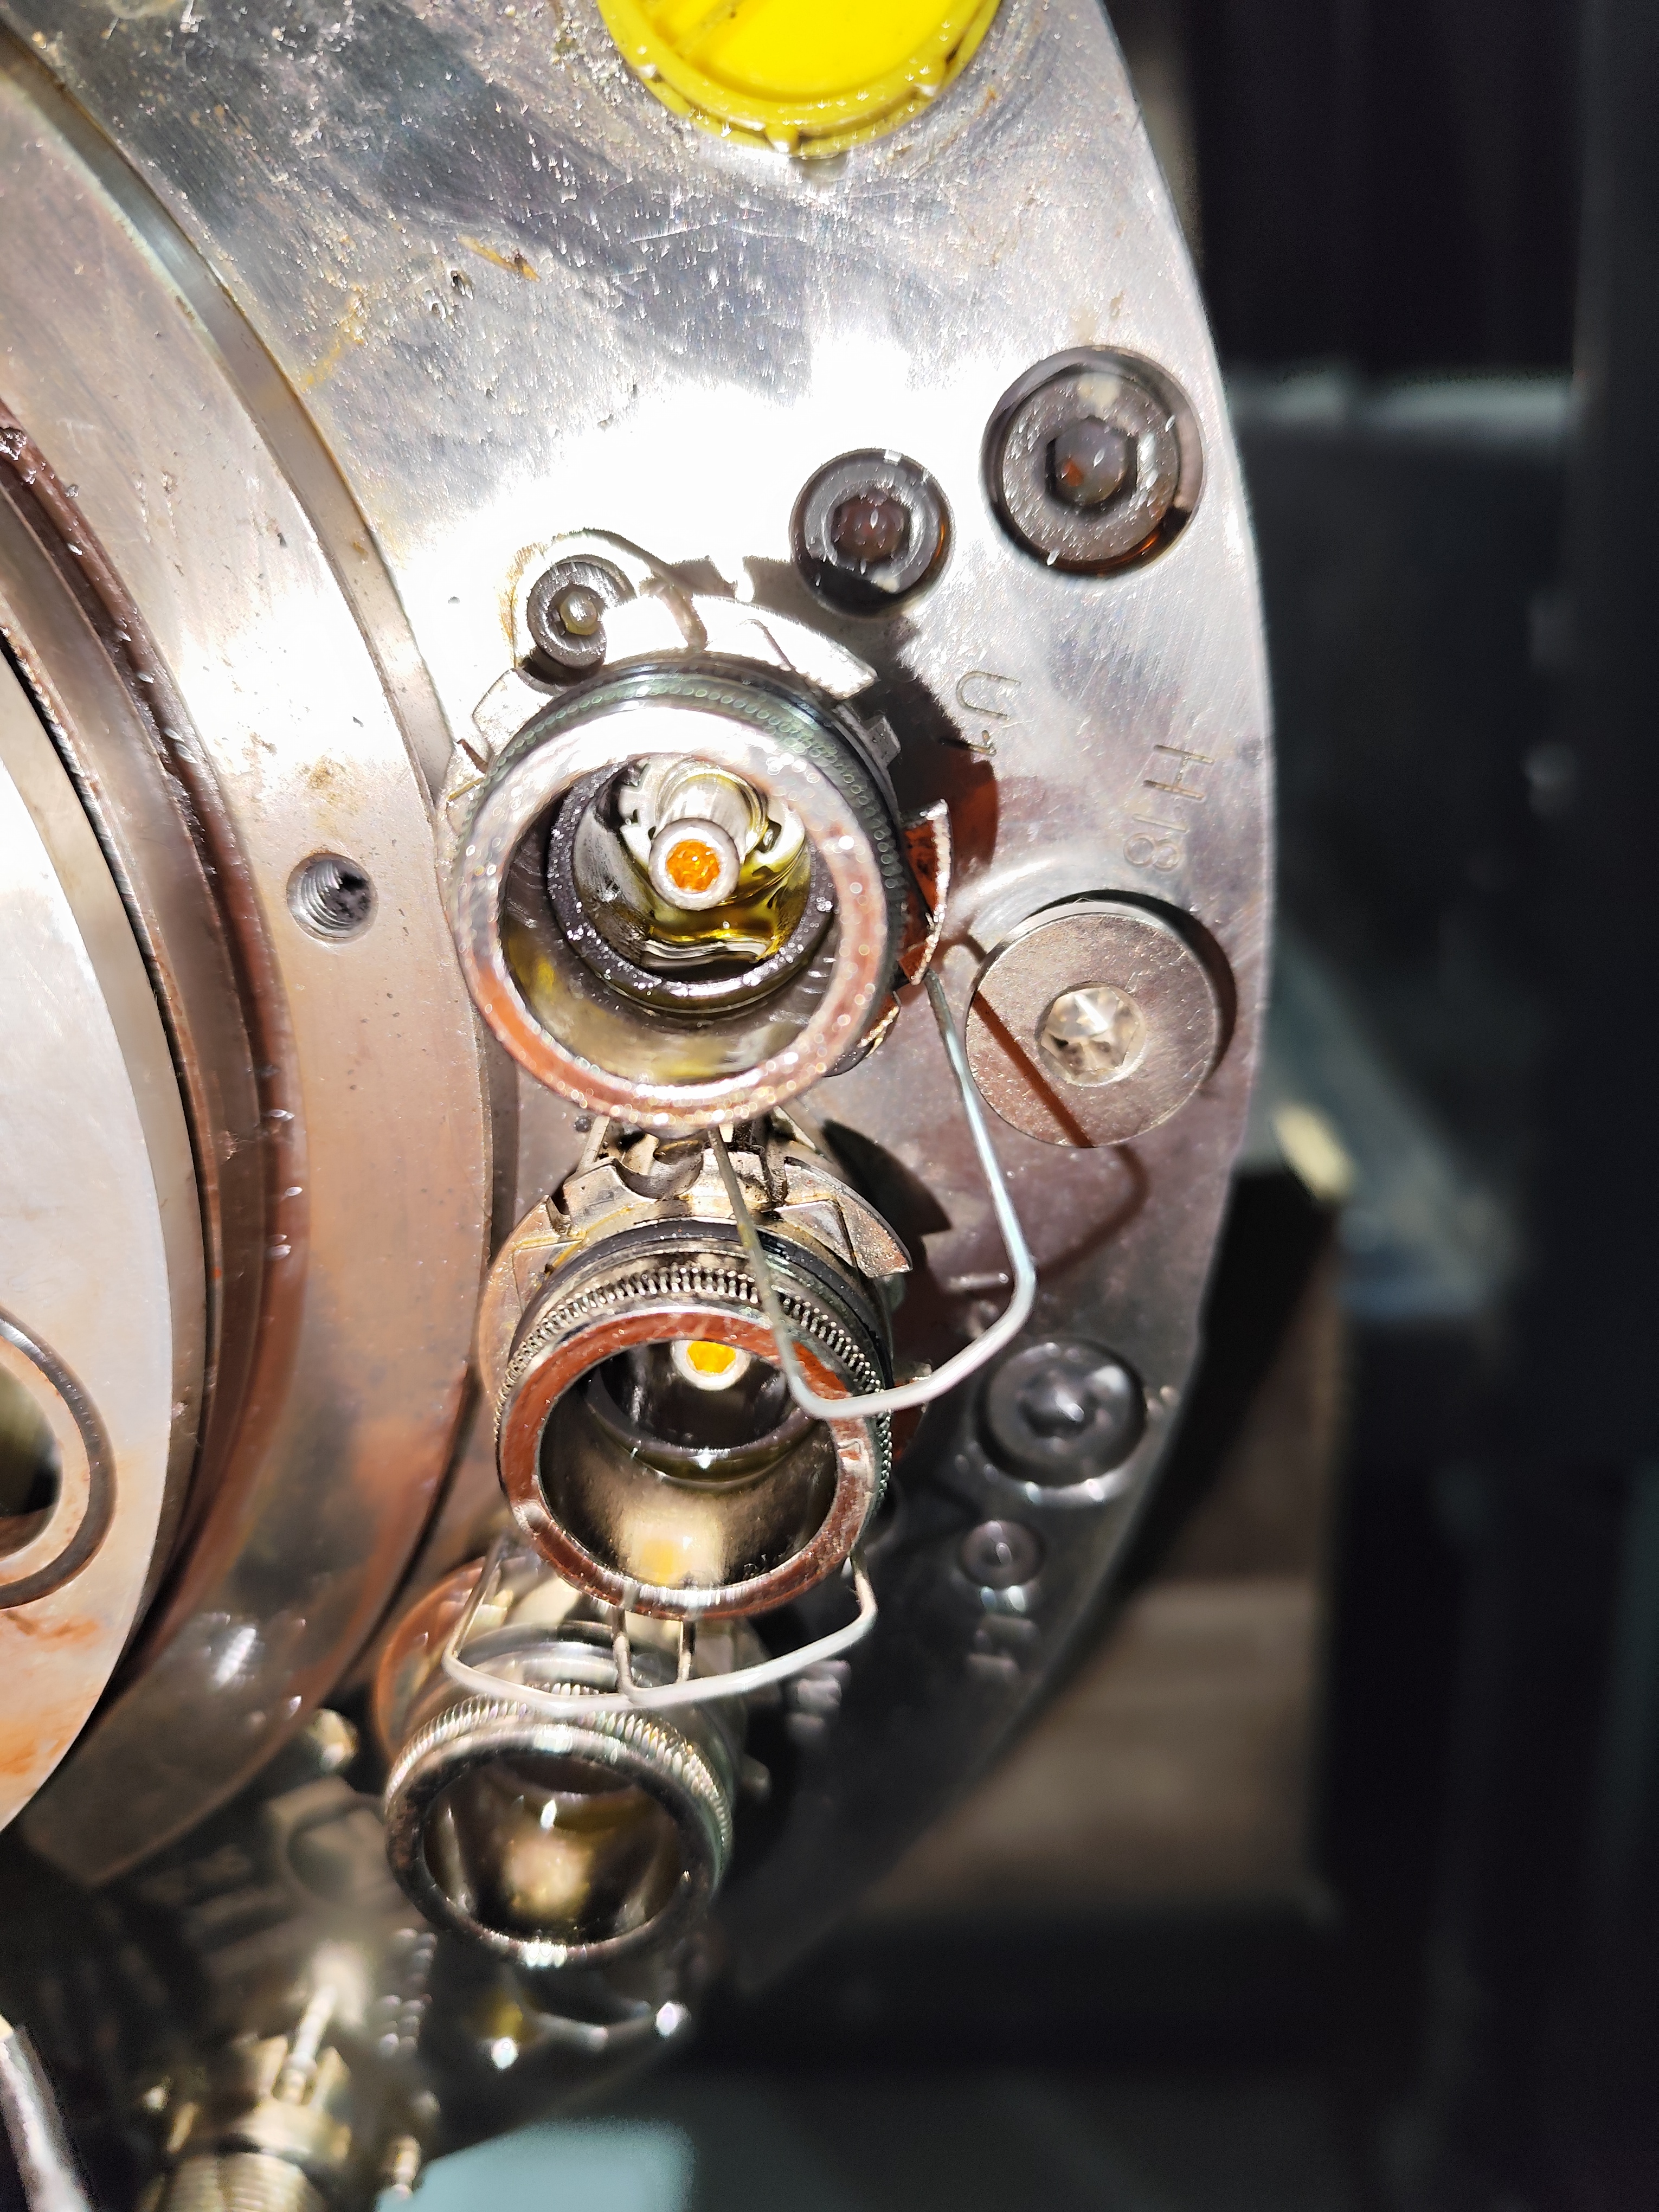
 The next step is the most exciting part: after the initial inspection, the spindle is completely dismantled! The motor, the solid reduction gear and the tool holder are all separate, which is great news as it means we can take care not to lose the original alignment. We make sure that all parts are given the once-over with the best solvents to get rid of any old coolant and particles. This stage is when the fun really starts! Gears, bearings and seals are checked to make sure everything is in tip-top condition. Gears can show wear due to constant load or inadequate lubrication, but with a little care and attention, we can keep everything running like a dream!
It’s so important to replace any teeth that are damaged, because this helps to avoid misalignment that affects torque. Lubrication is absolutely vital: a lack of oil in the gearbox can cause overheating and accelerate component wear, so be sure to check on this regularly. This is why the grease or oil in the system is renewed with the lubricant specified by the manufacturer. Alignment is also checked, which is great news! Any misalignment between the motor and shaft is easily identified and addressed, preventing any additional loads on bearings and gears.
We are thrilled to offer replacement parts for any damaged items!
The best part? During disassembly, we make sure to note key component positions so that we can ensure a faithful reassembly! We are thrilled to announce that our new high-quality bearings are now available! If your existing bearings show wear or excessive play, don’t worry – we’ve got you covered. And if you need a new seal or O-ring, we’ve got you covered! And if the repair calls for it, we can manufacture special spacers or special seats on badly worn spindles to restore the original manufacturer’s tolerances.
 The installation of new parts and assembly is done with special tools to respect the prescribed alignments and tightening torques, making it a precise and careful process. The rebuild is the perfect opportunity to perform a no-load test! This is when we make sure the spindle can rotate freely and without any extraneous noises.
At last, the moment we’ve all been waiting for! It’s time to check that performance parameters (e.g. dynamic balance, operating temperatures and turning accuracy) have been restored. This is how we can be sure that everything is working just as it should.
Contact us now via the contact form and get your equipment back in operation!
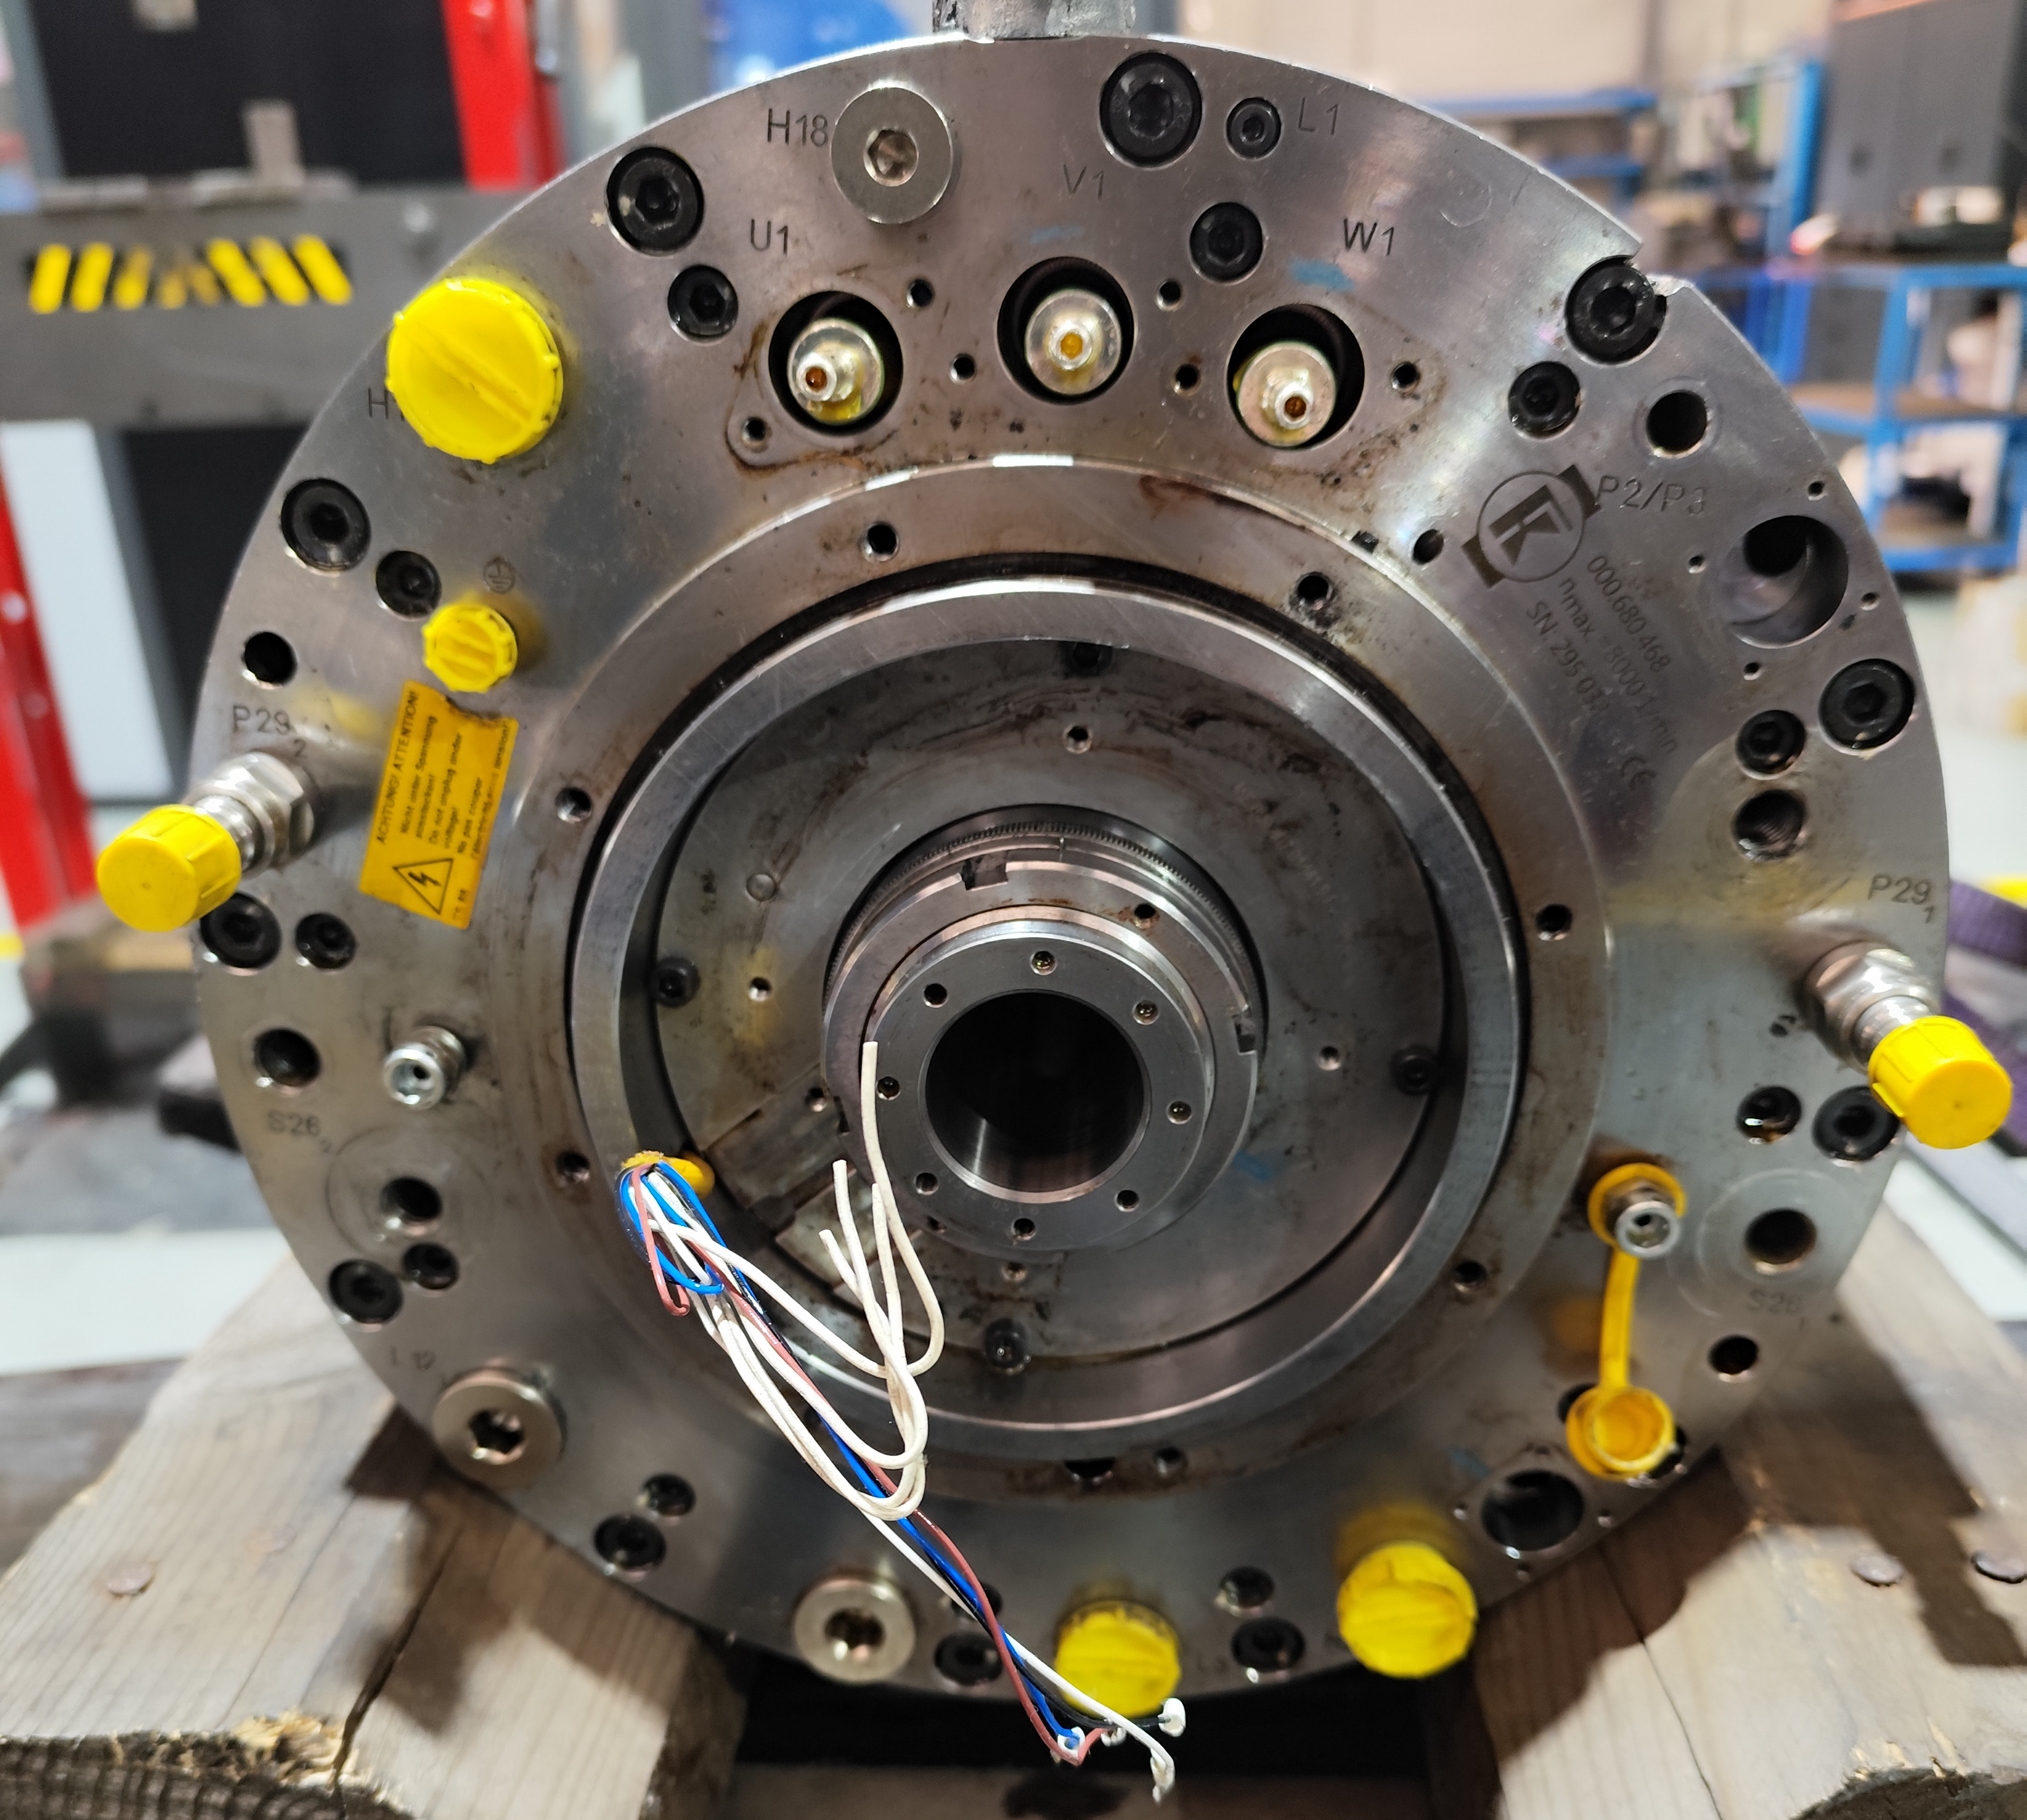
Case study: Repair of a Redex spindle 000.680.468
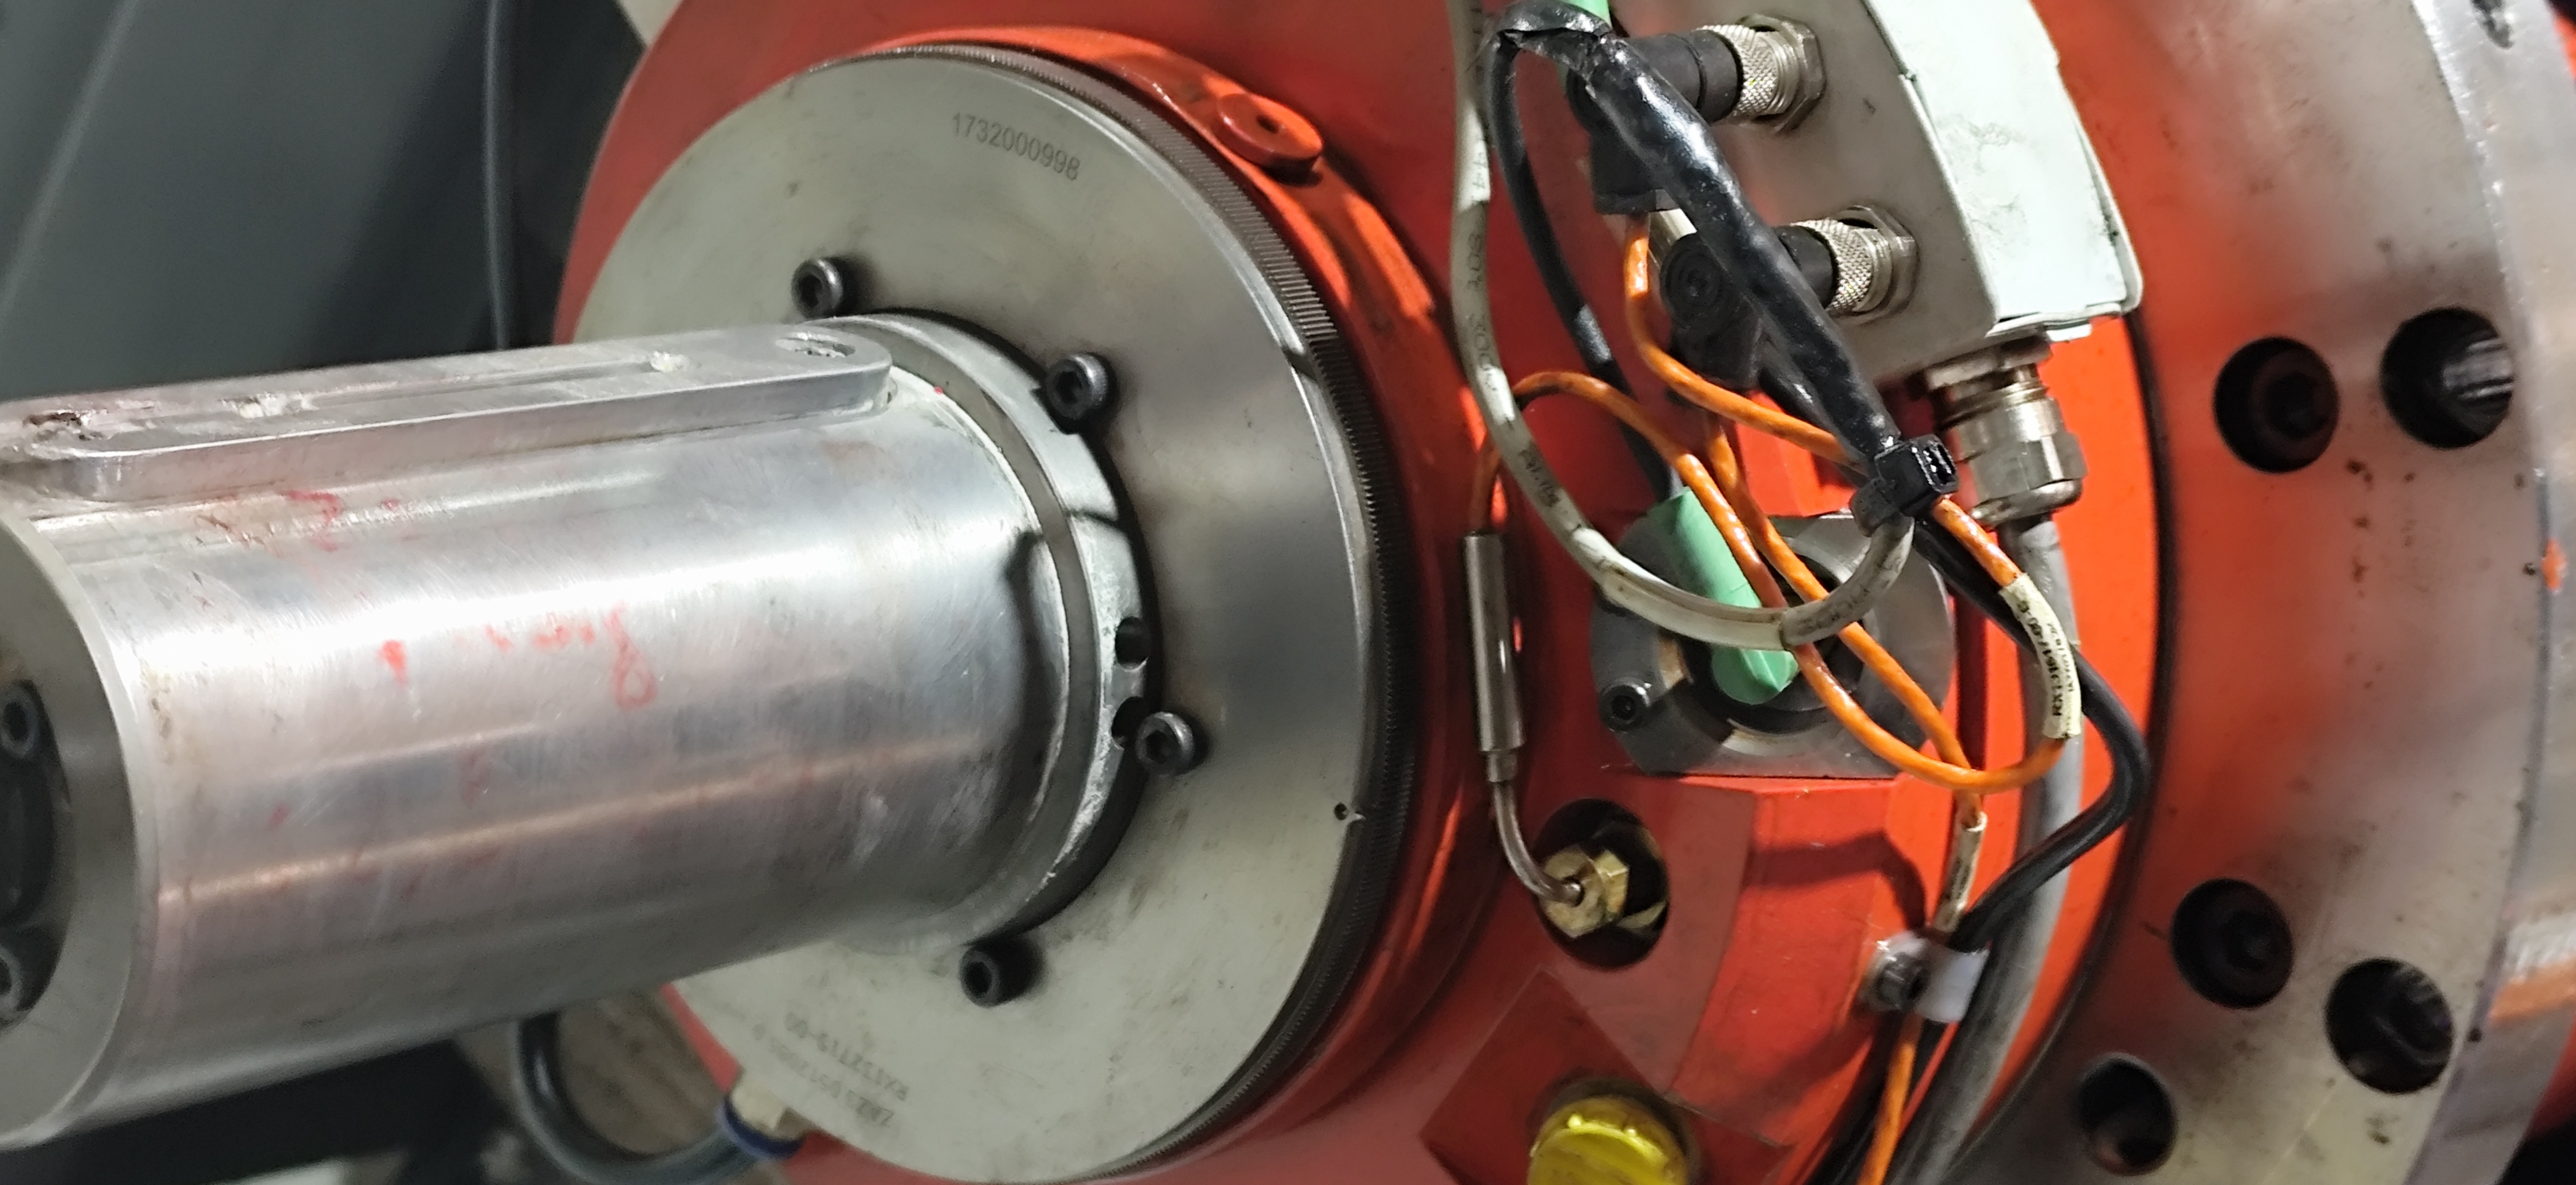
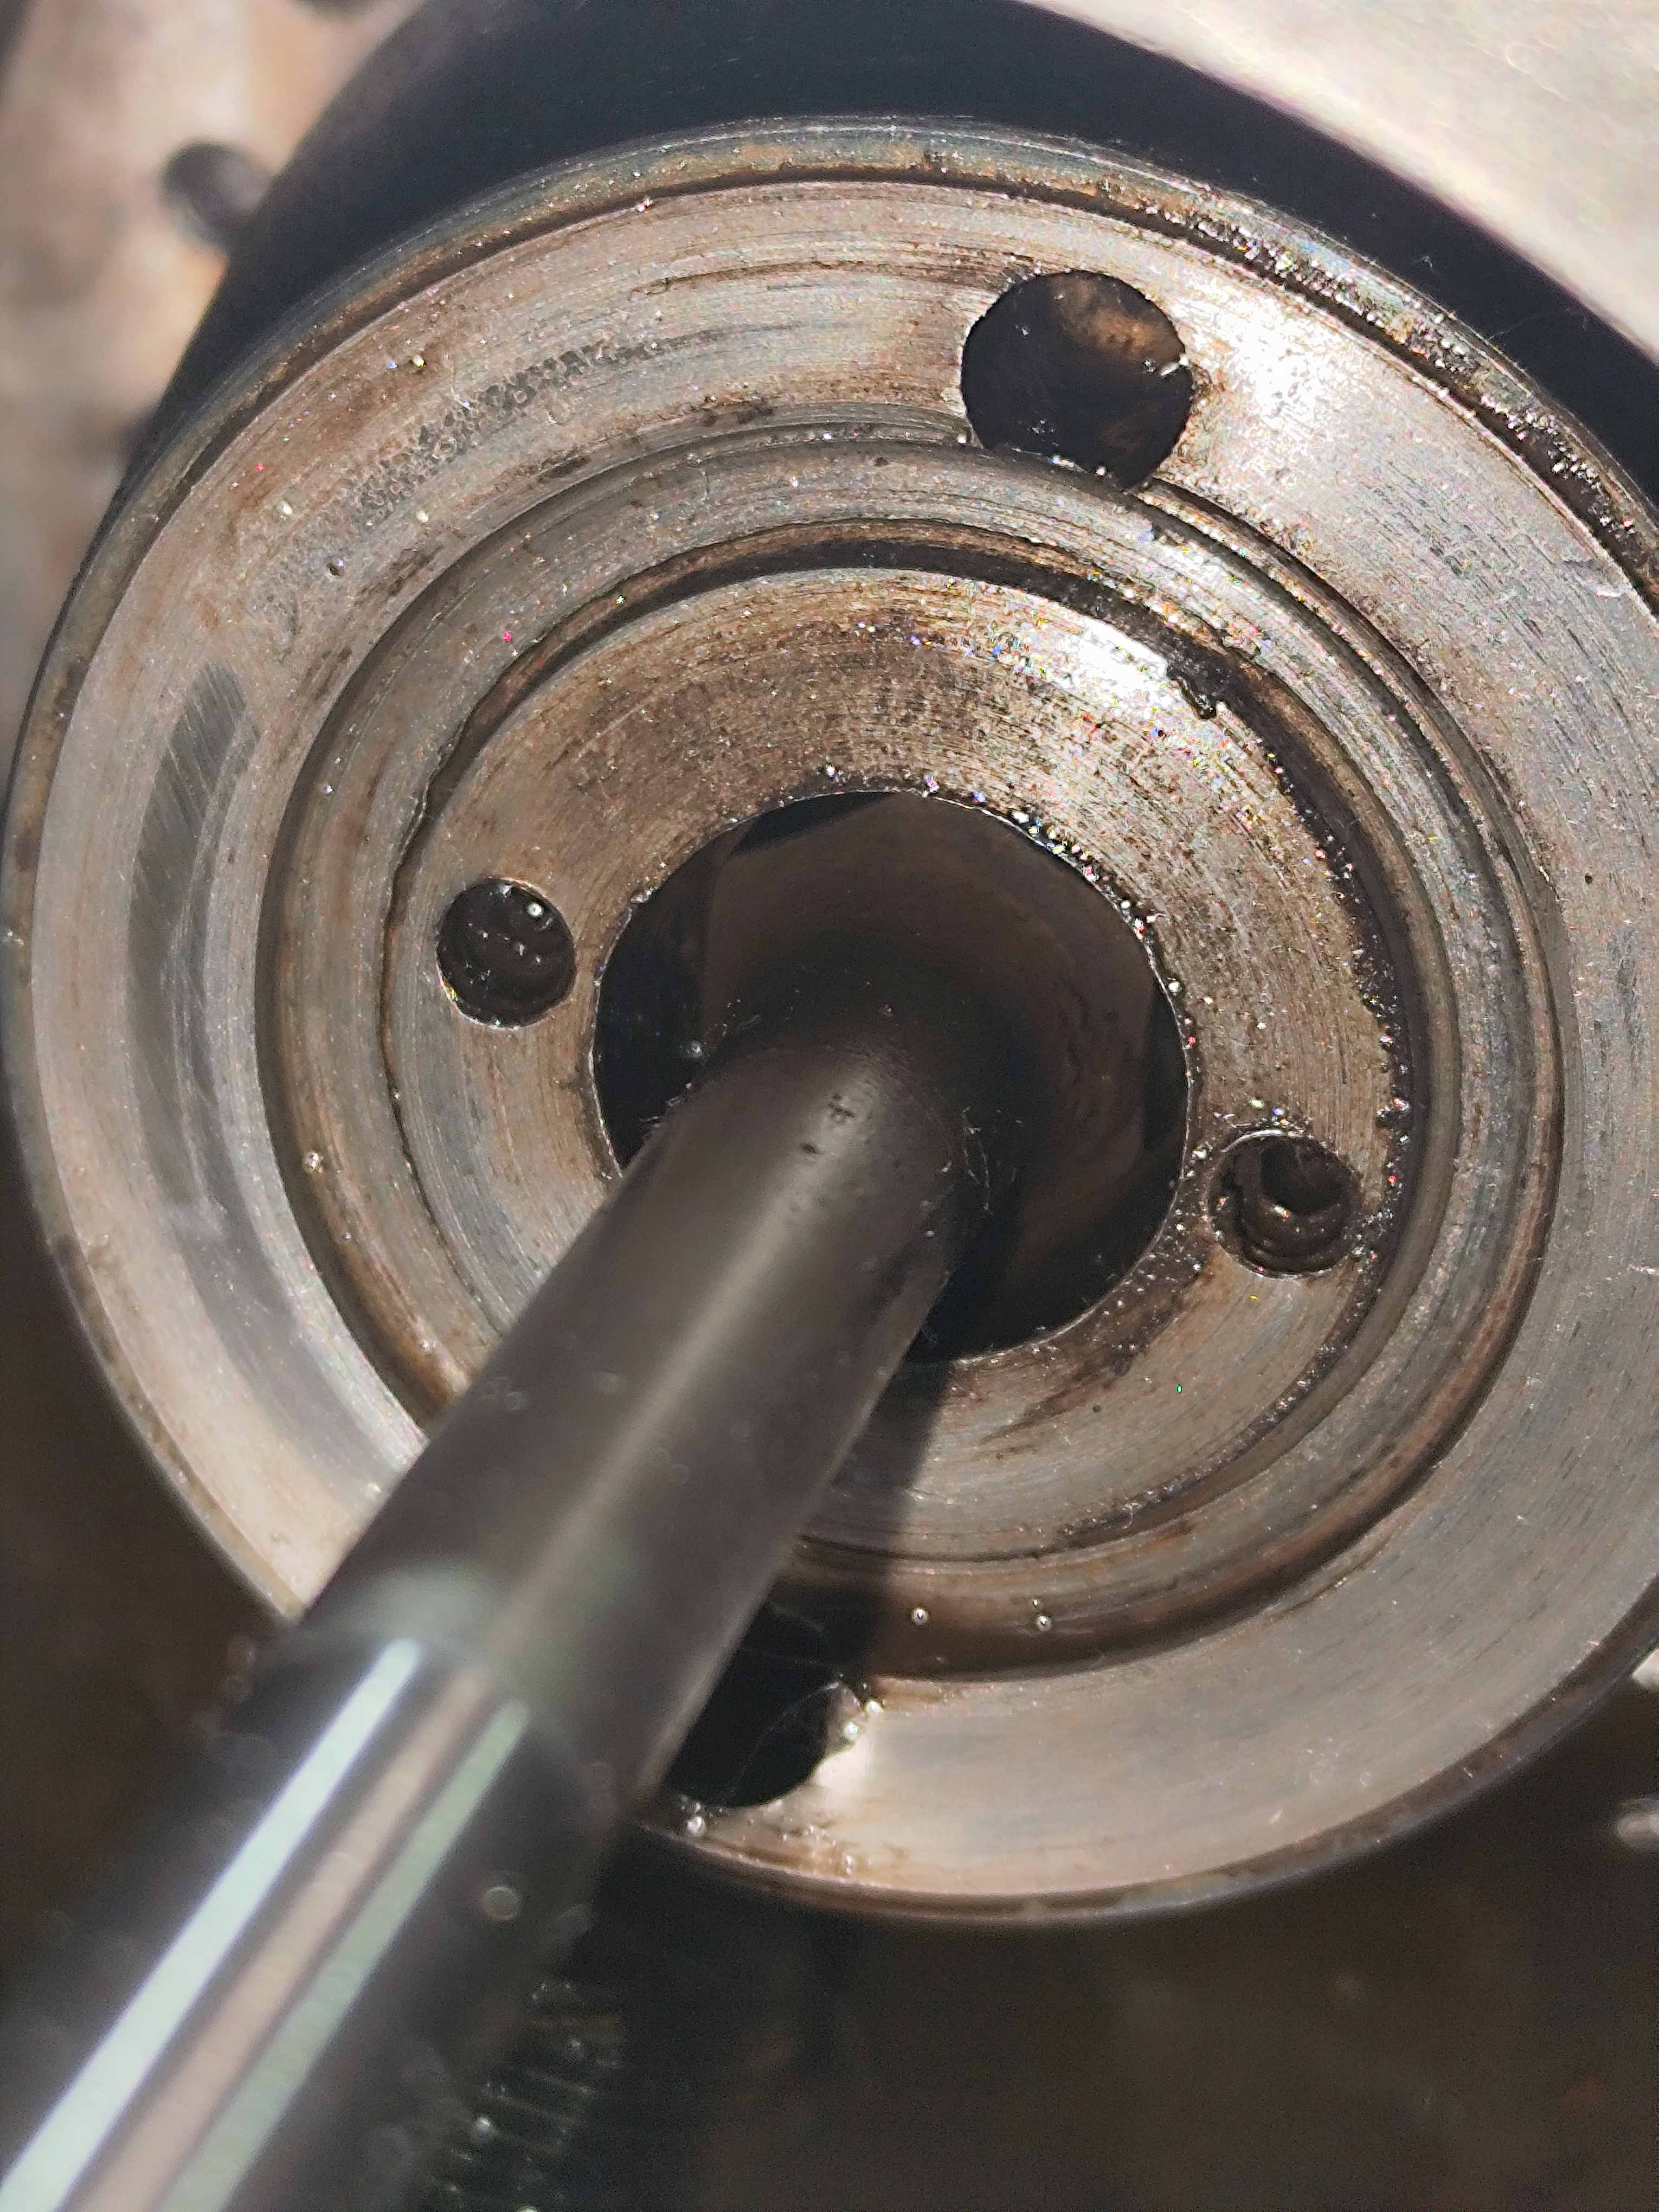
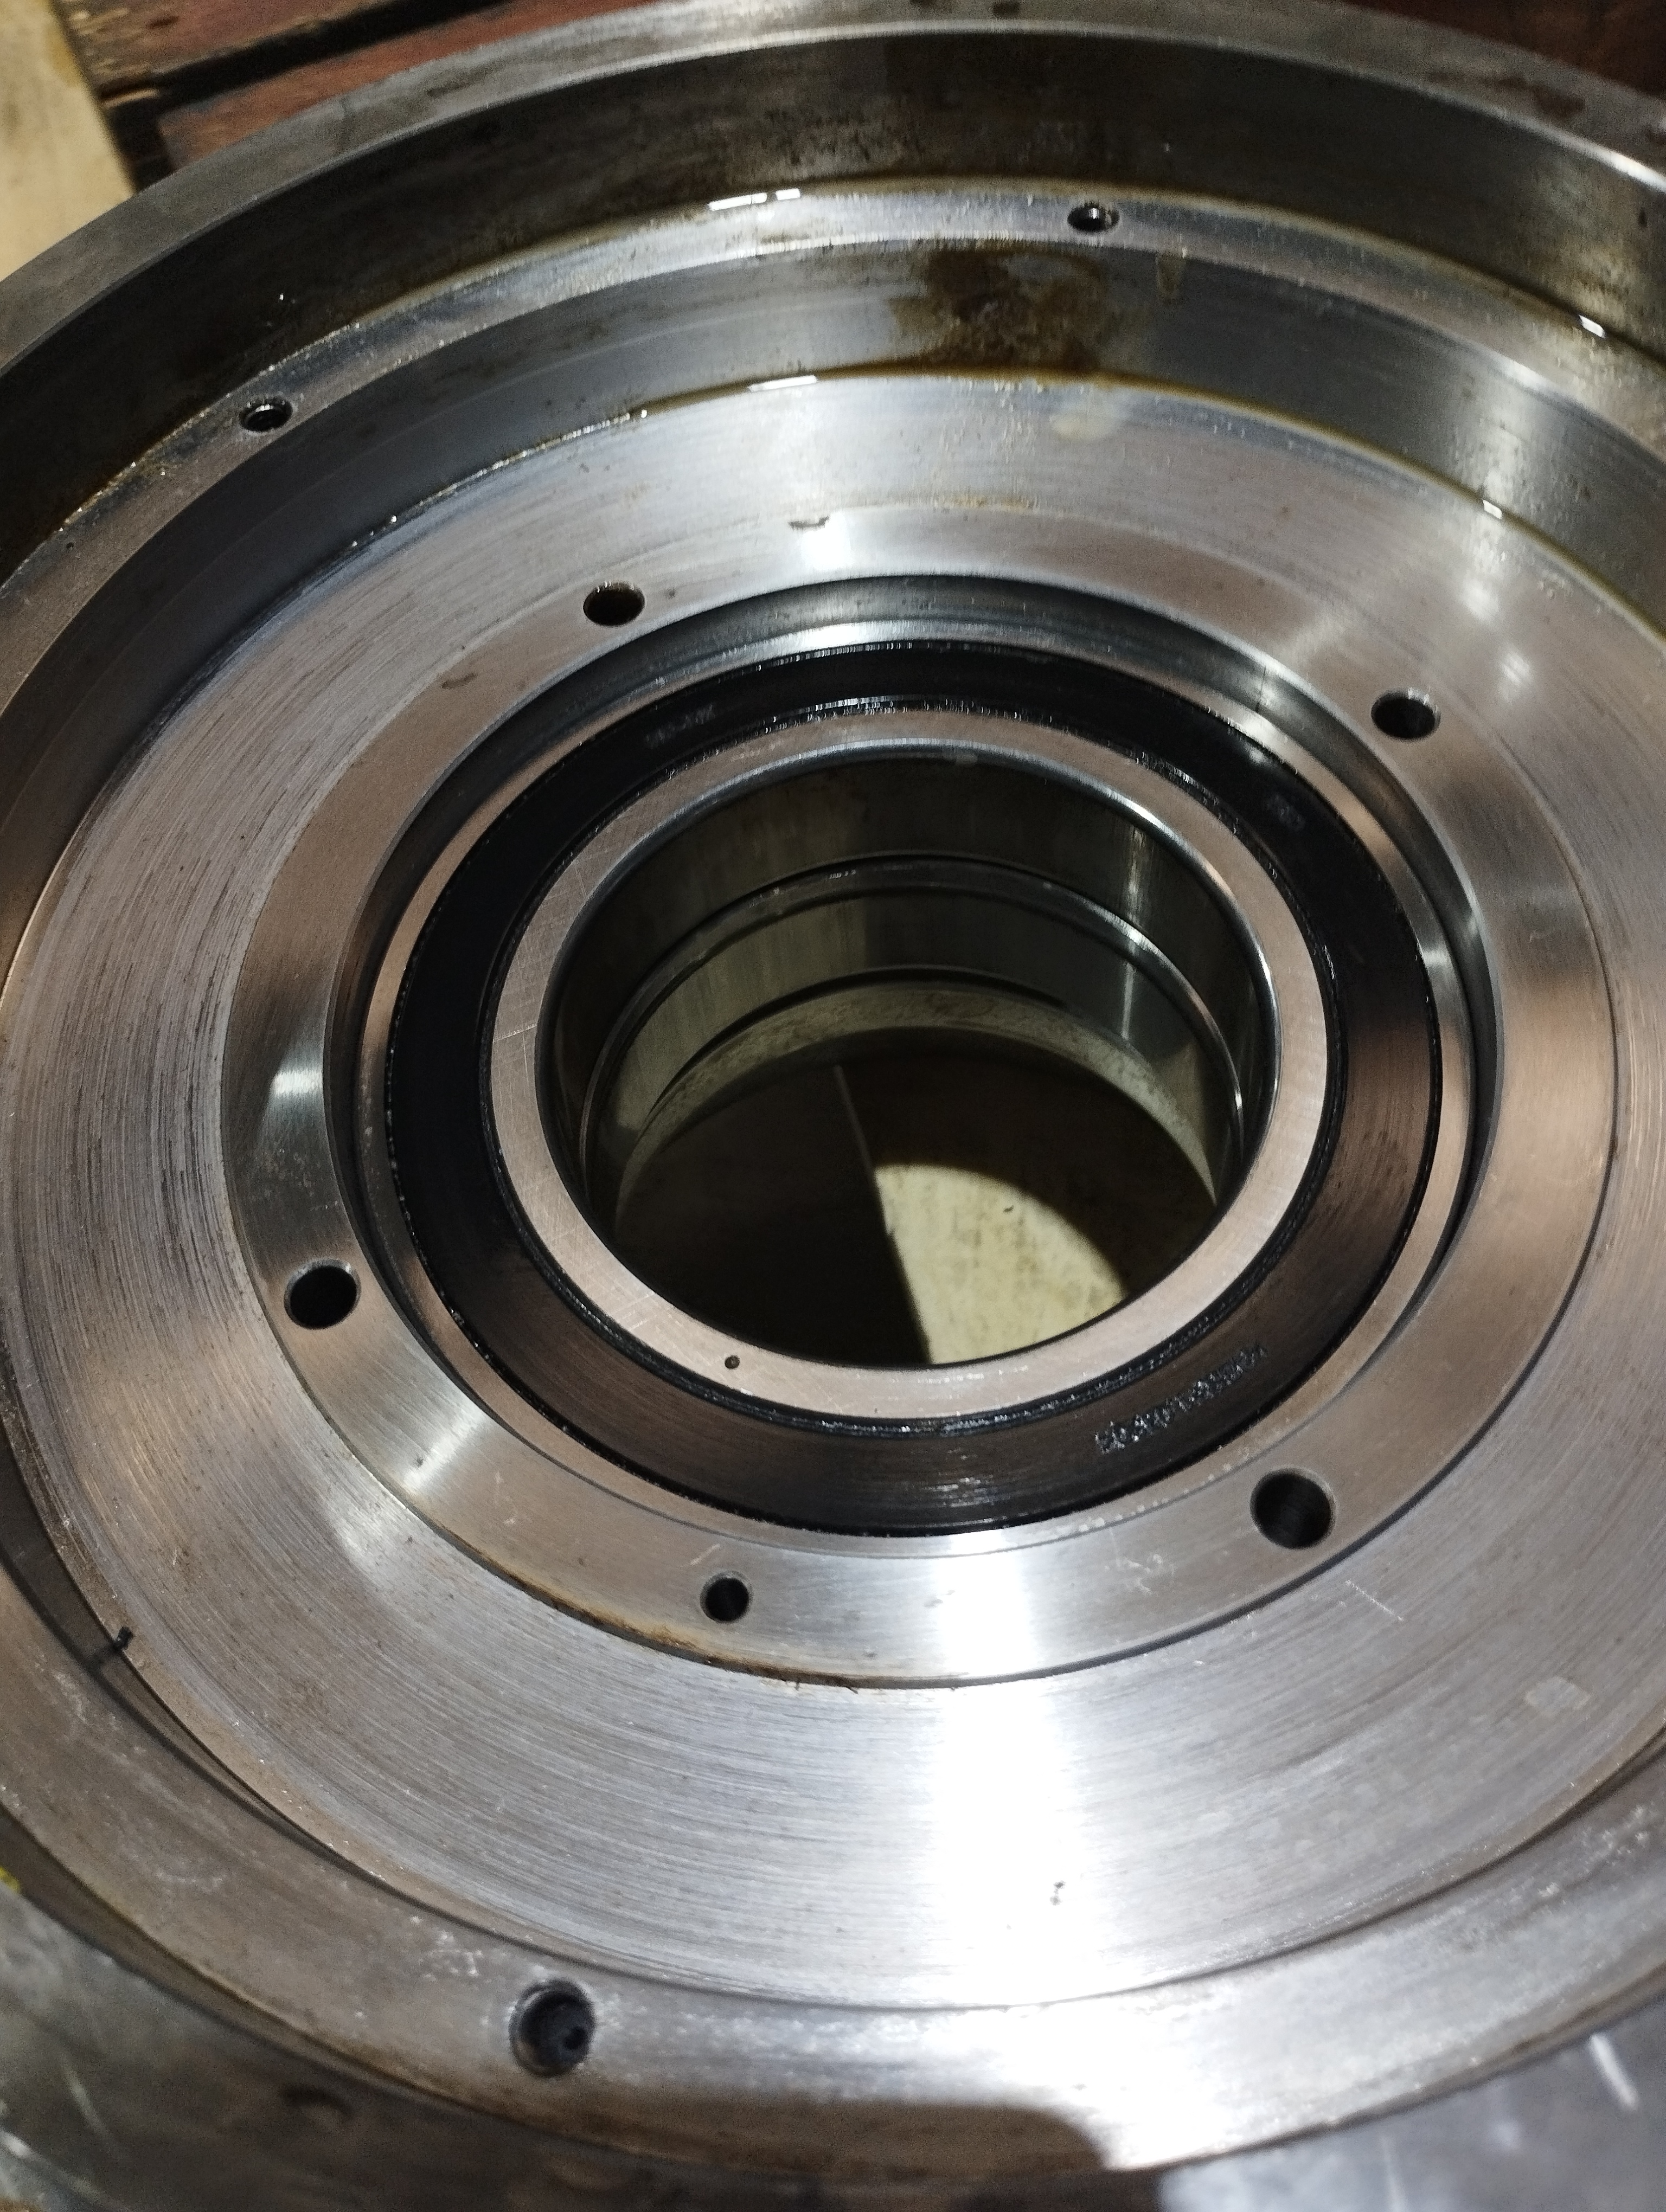
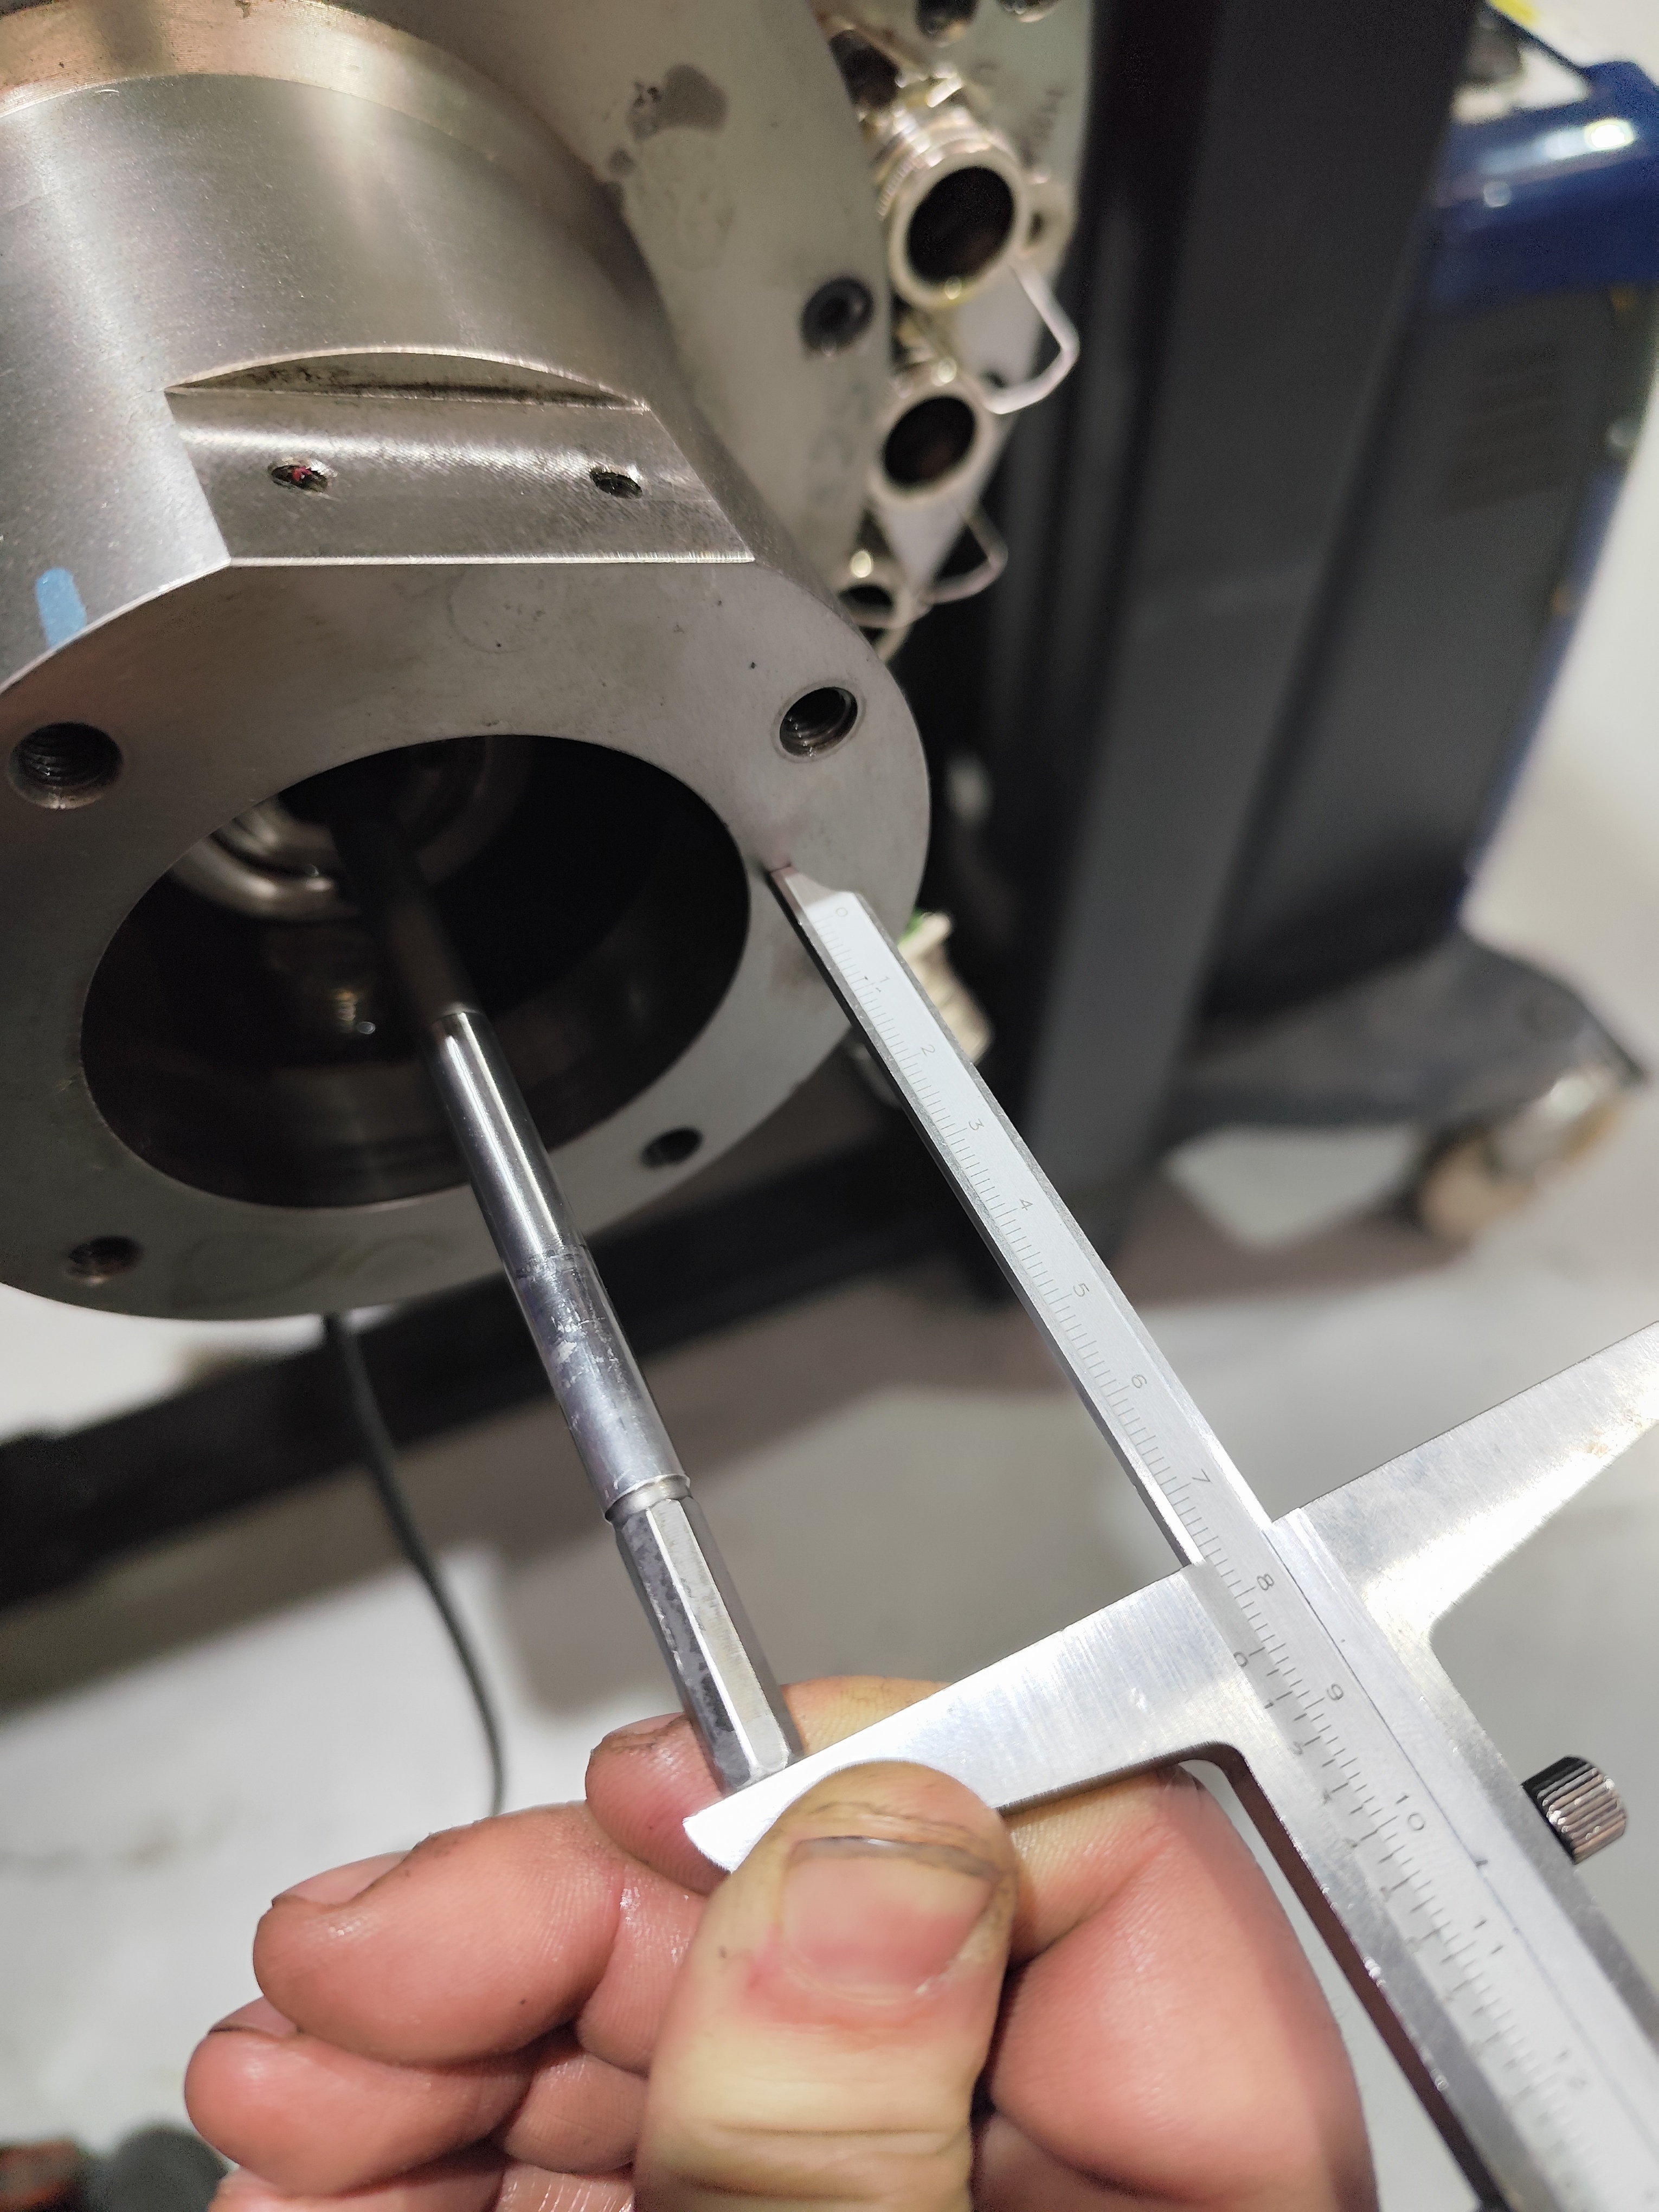
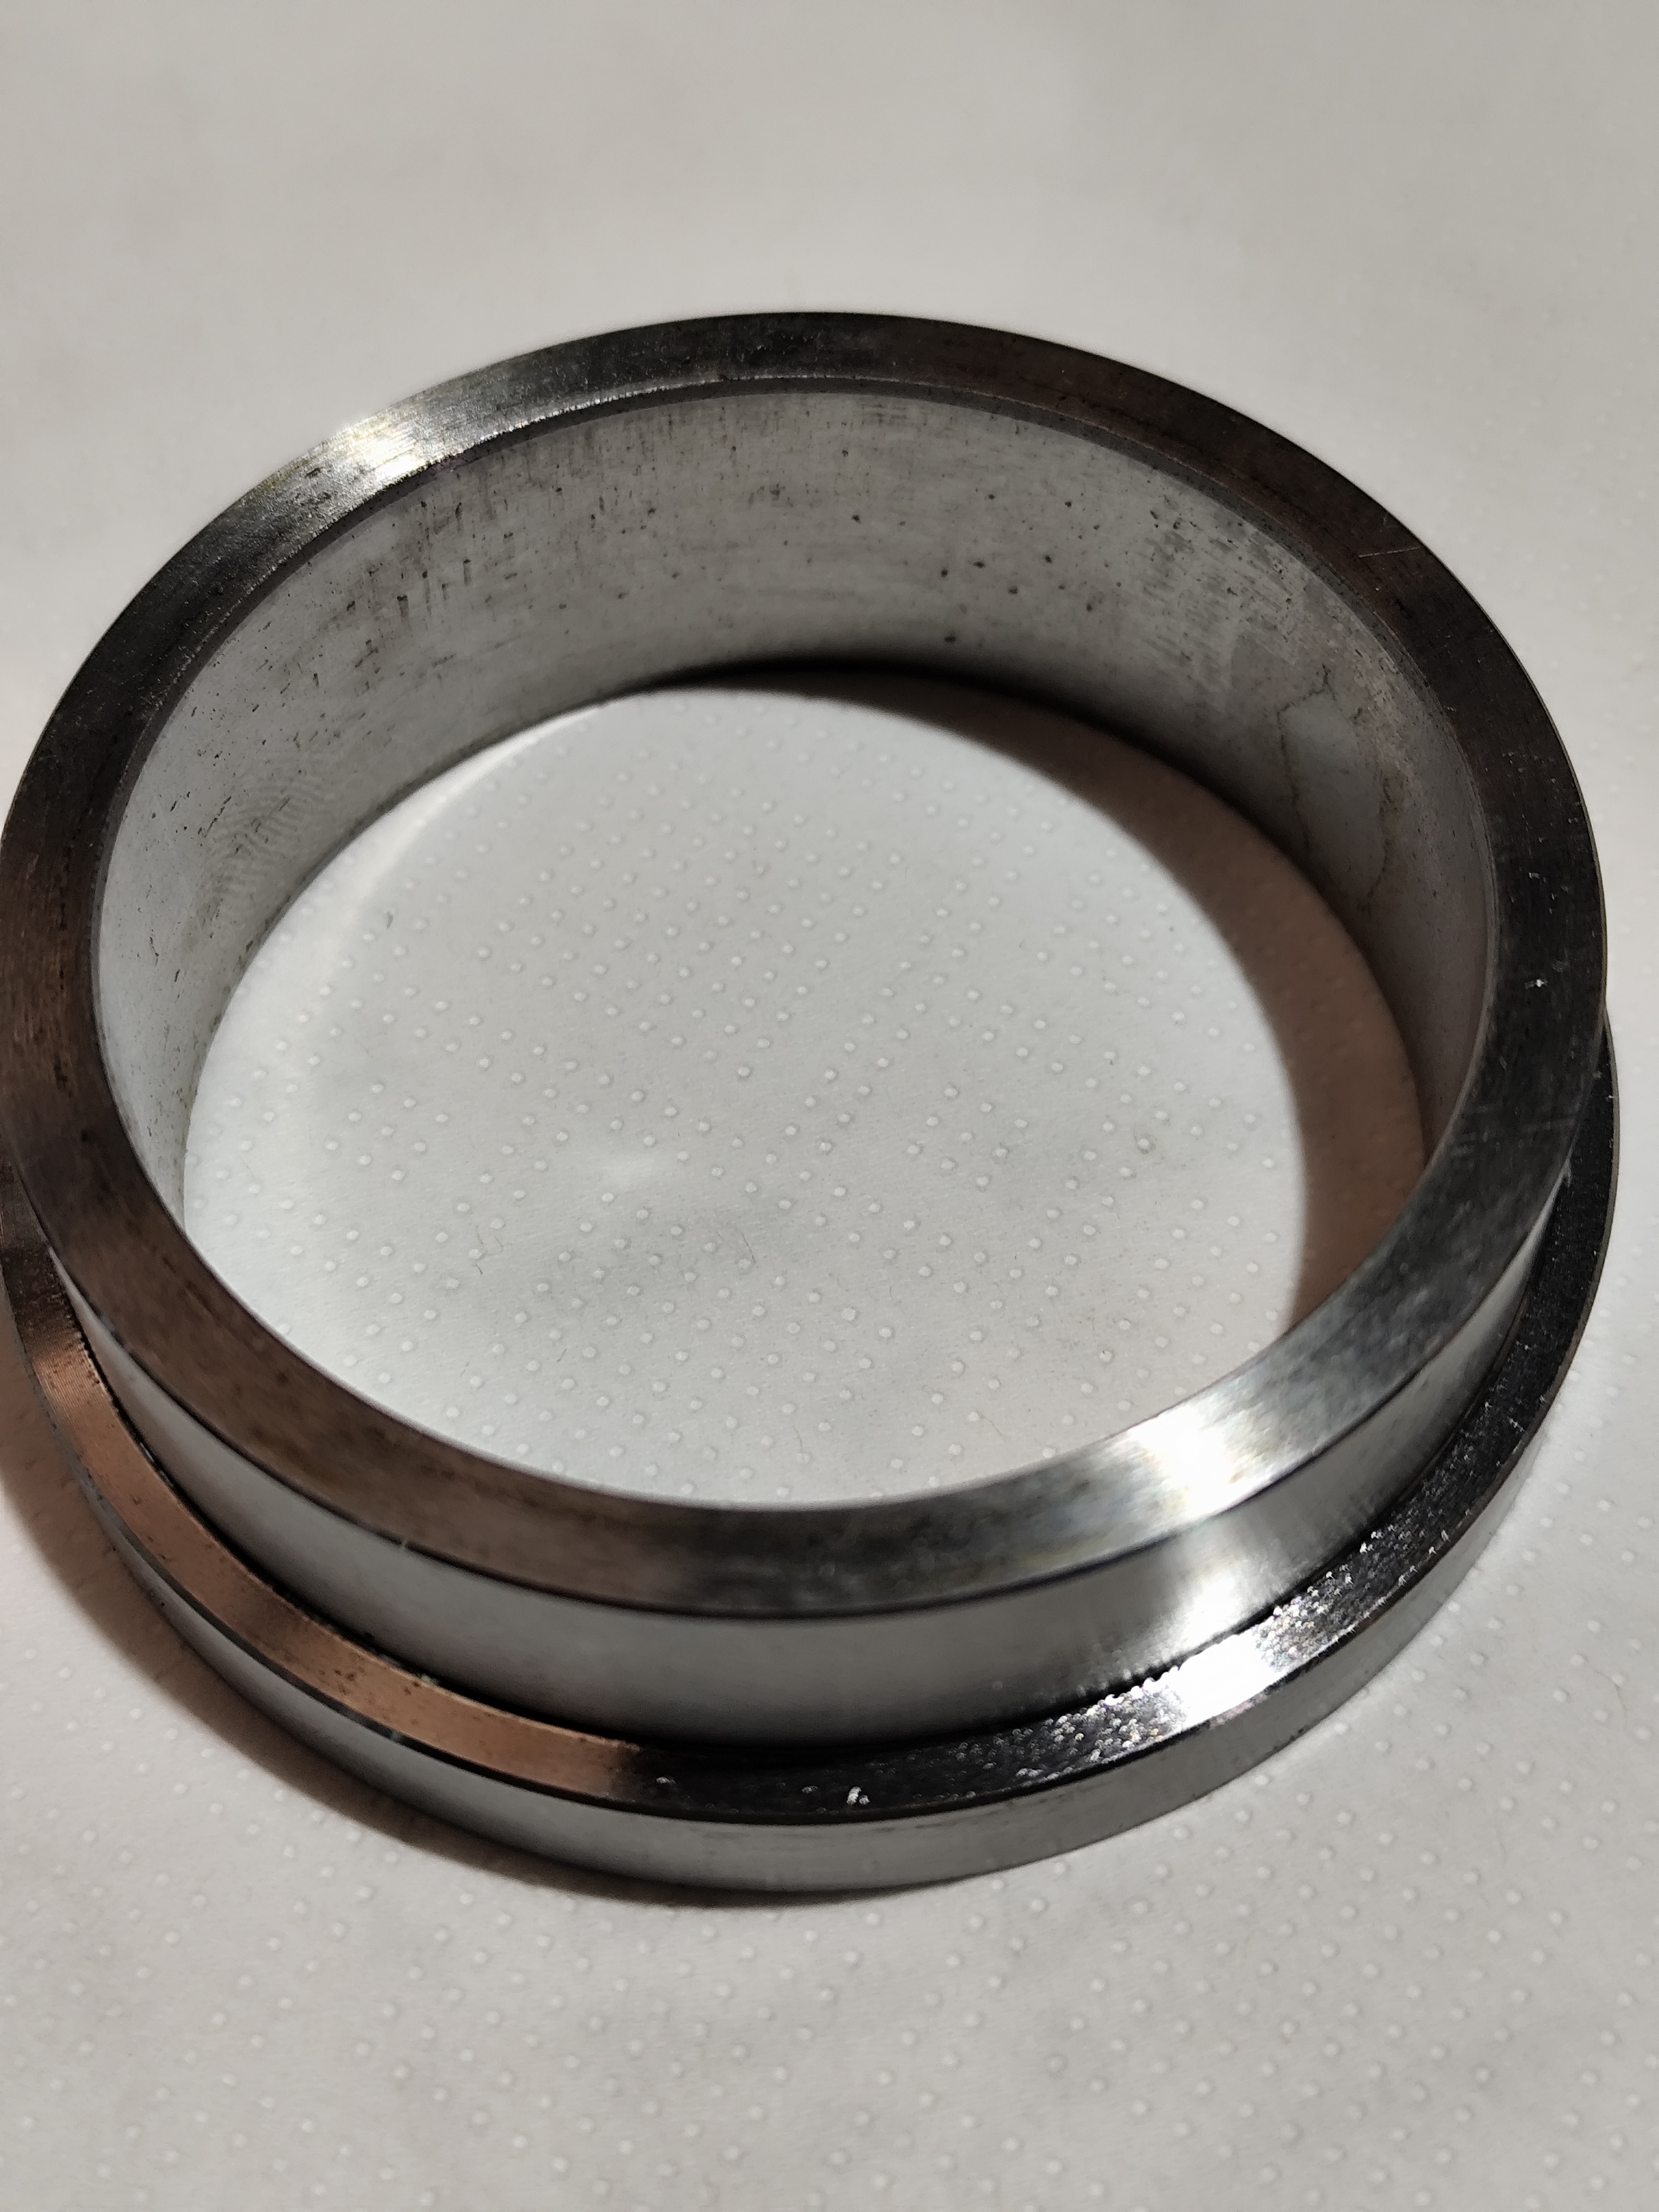
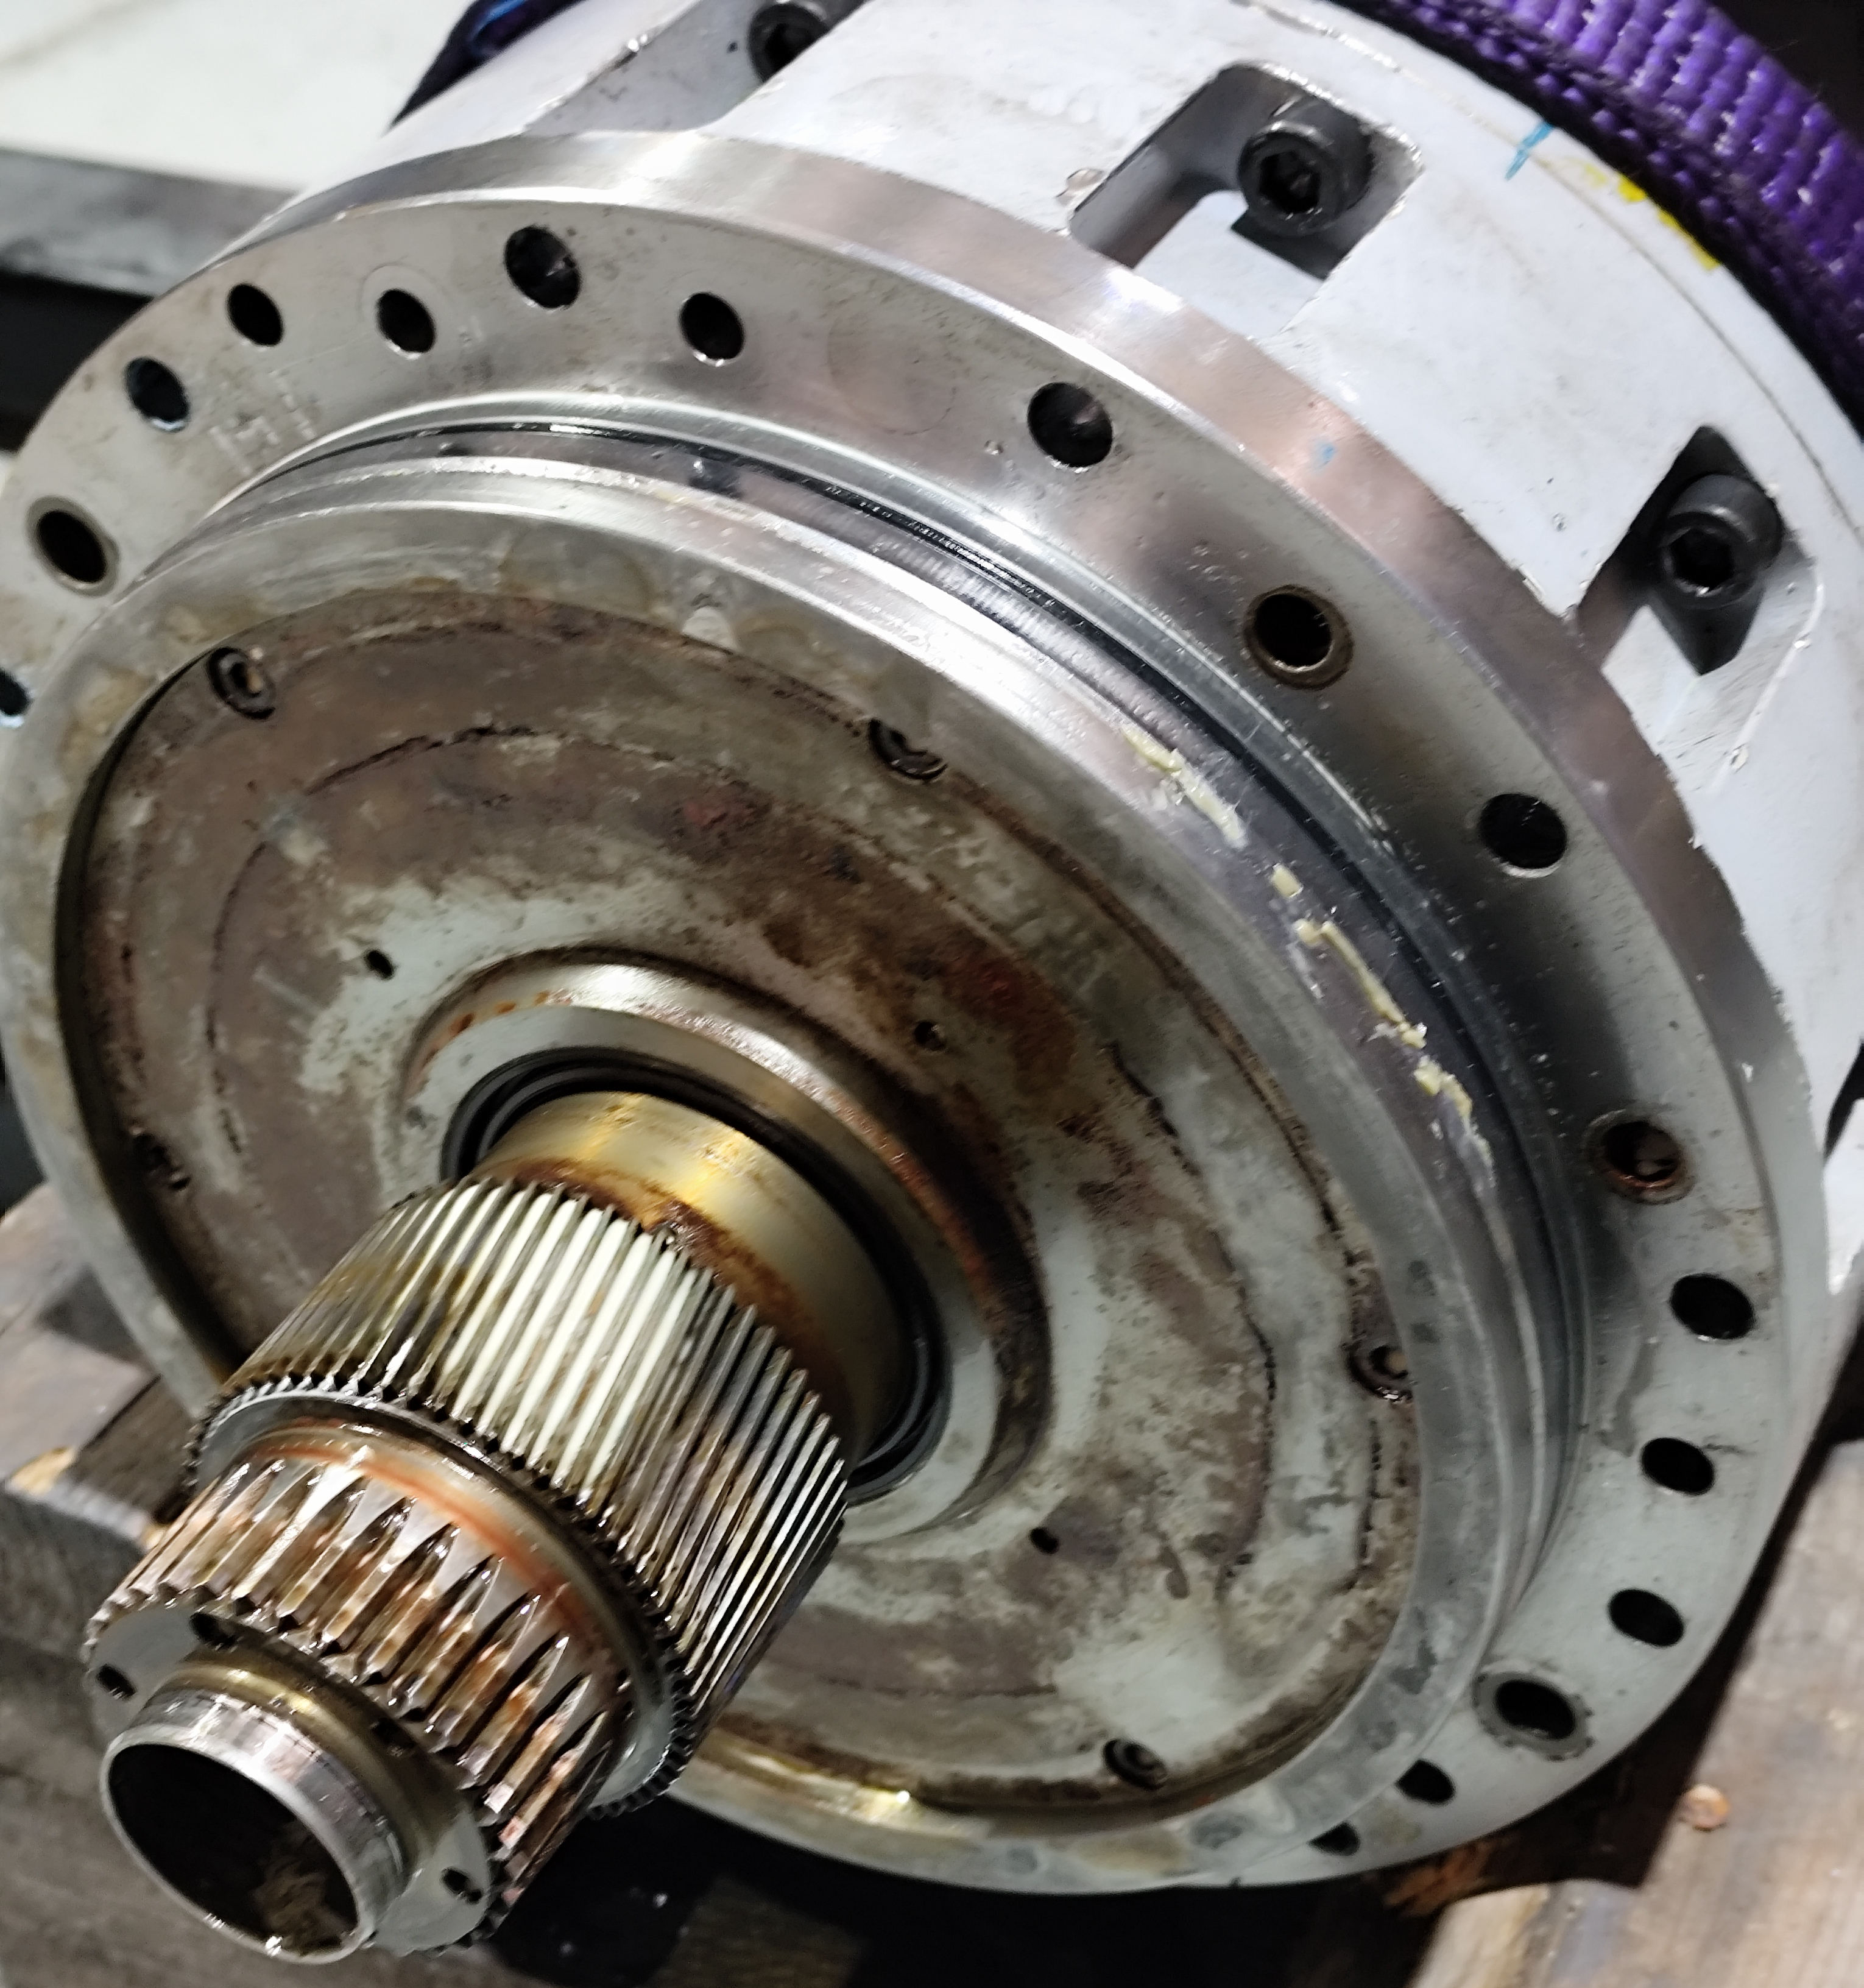
In an actual case, the REDEX model 000.680.468 spindle came in with a spindle rotation failure, but we were able to resolve the issue quickly and efficiently. The GDM team observed that the spindle would not turn when power was applied, indicating an internal problem, which is great because now we can get to the bottom of it! The initial diagnosis revealed that the electrical fault was not the cause – great news! There were no short circuits in the stator, so a mechanical overhaul was carried out. To do this, the protective covers were carefully removed, followed by the motor-gearbox assembly. When we took the housing apart, we found some amazing stuff! There was corrosion on the shaft and deep fouling of the bearings, as you can see in the picture above. These indicated seal failure and internal contamination.
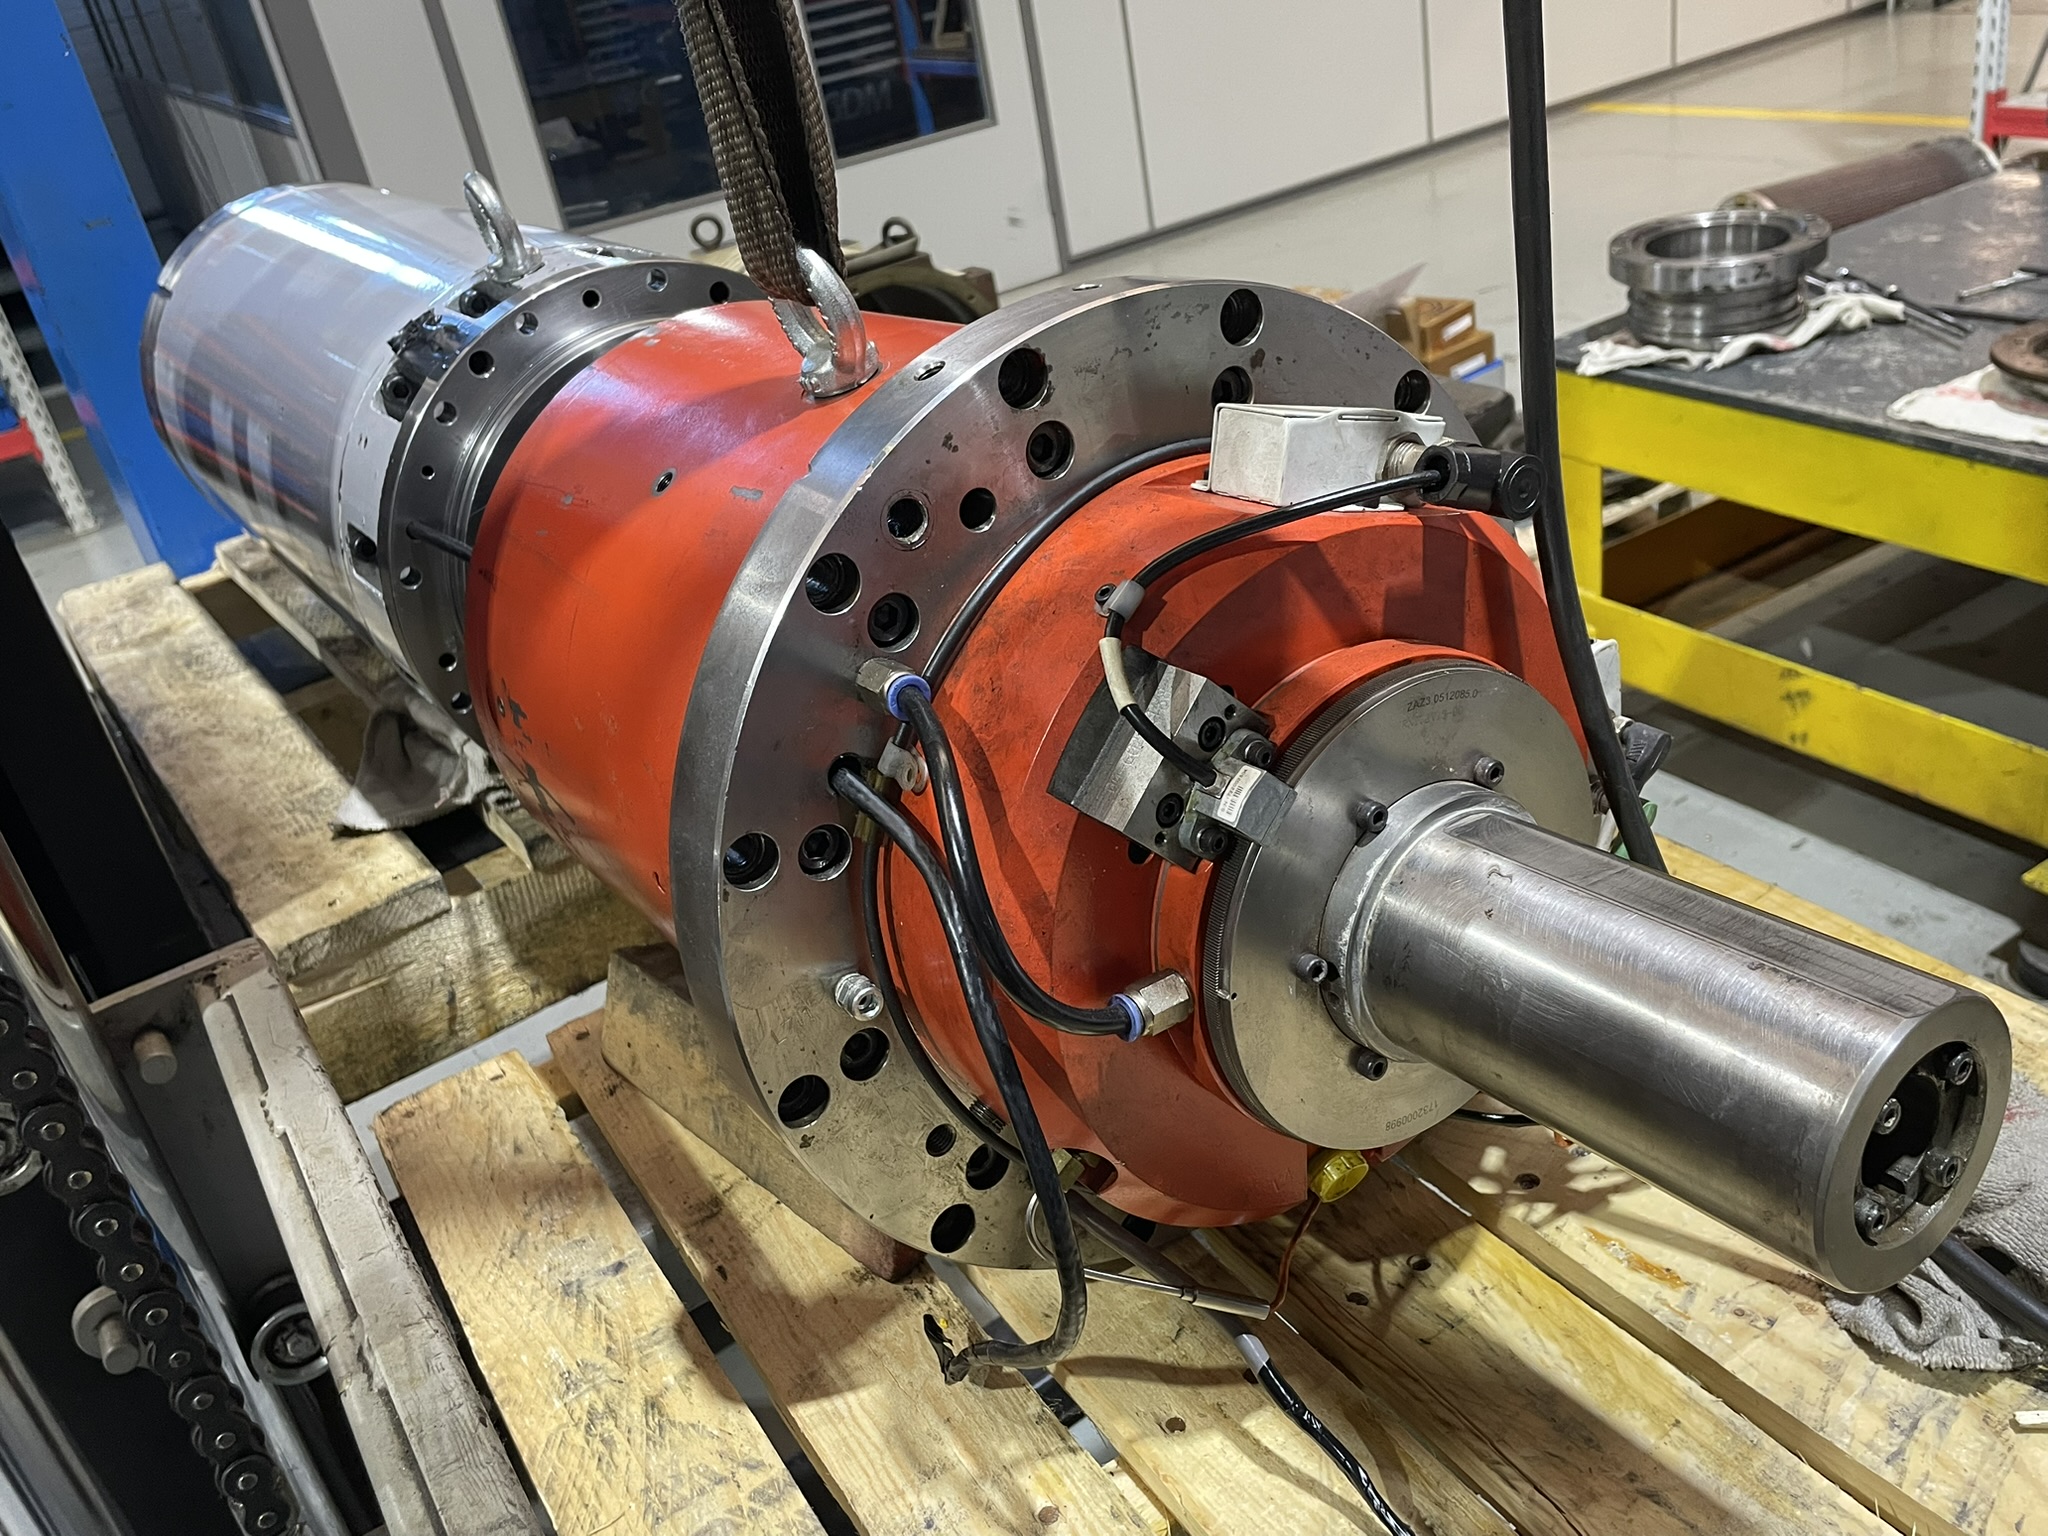
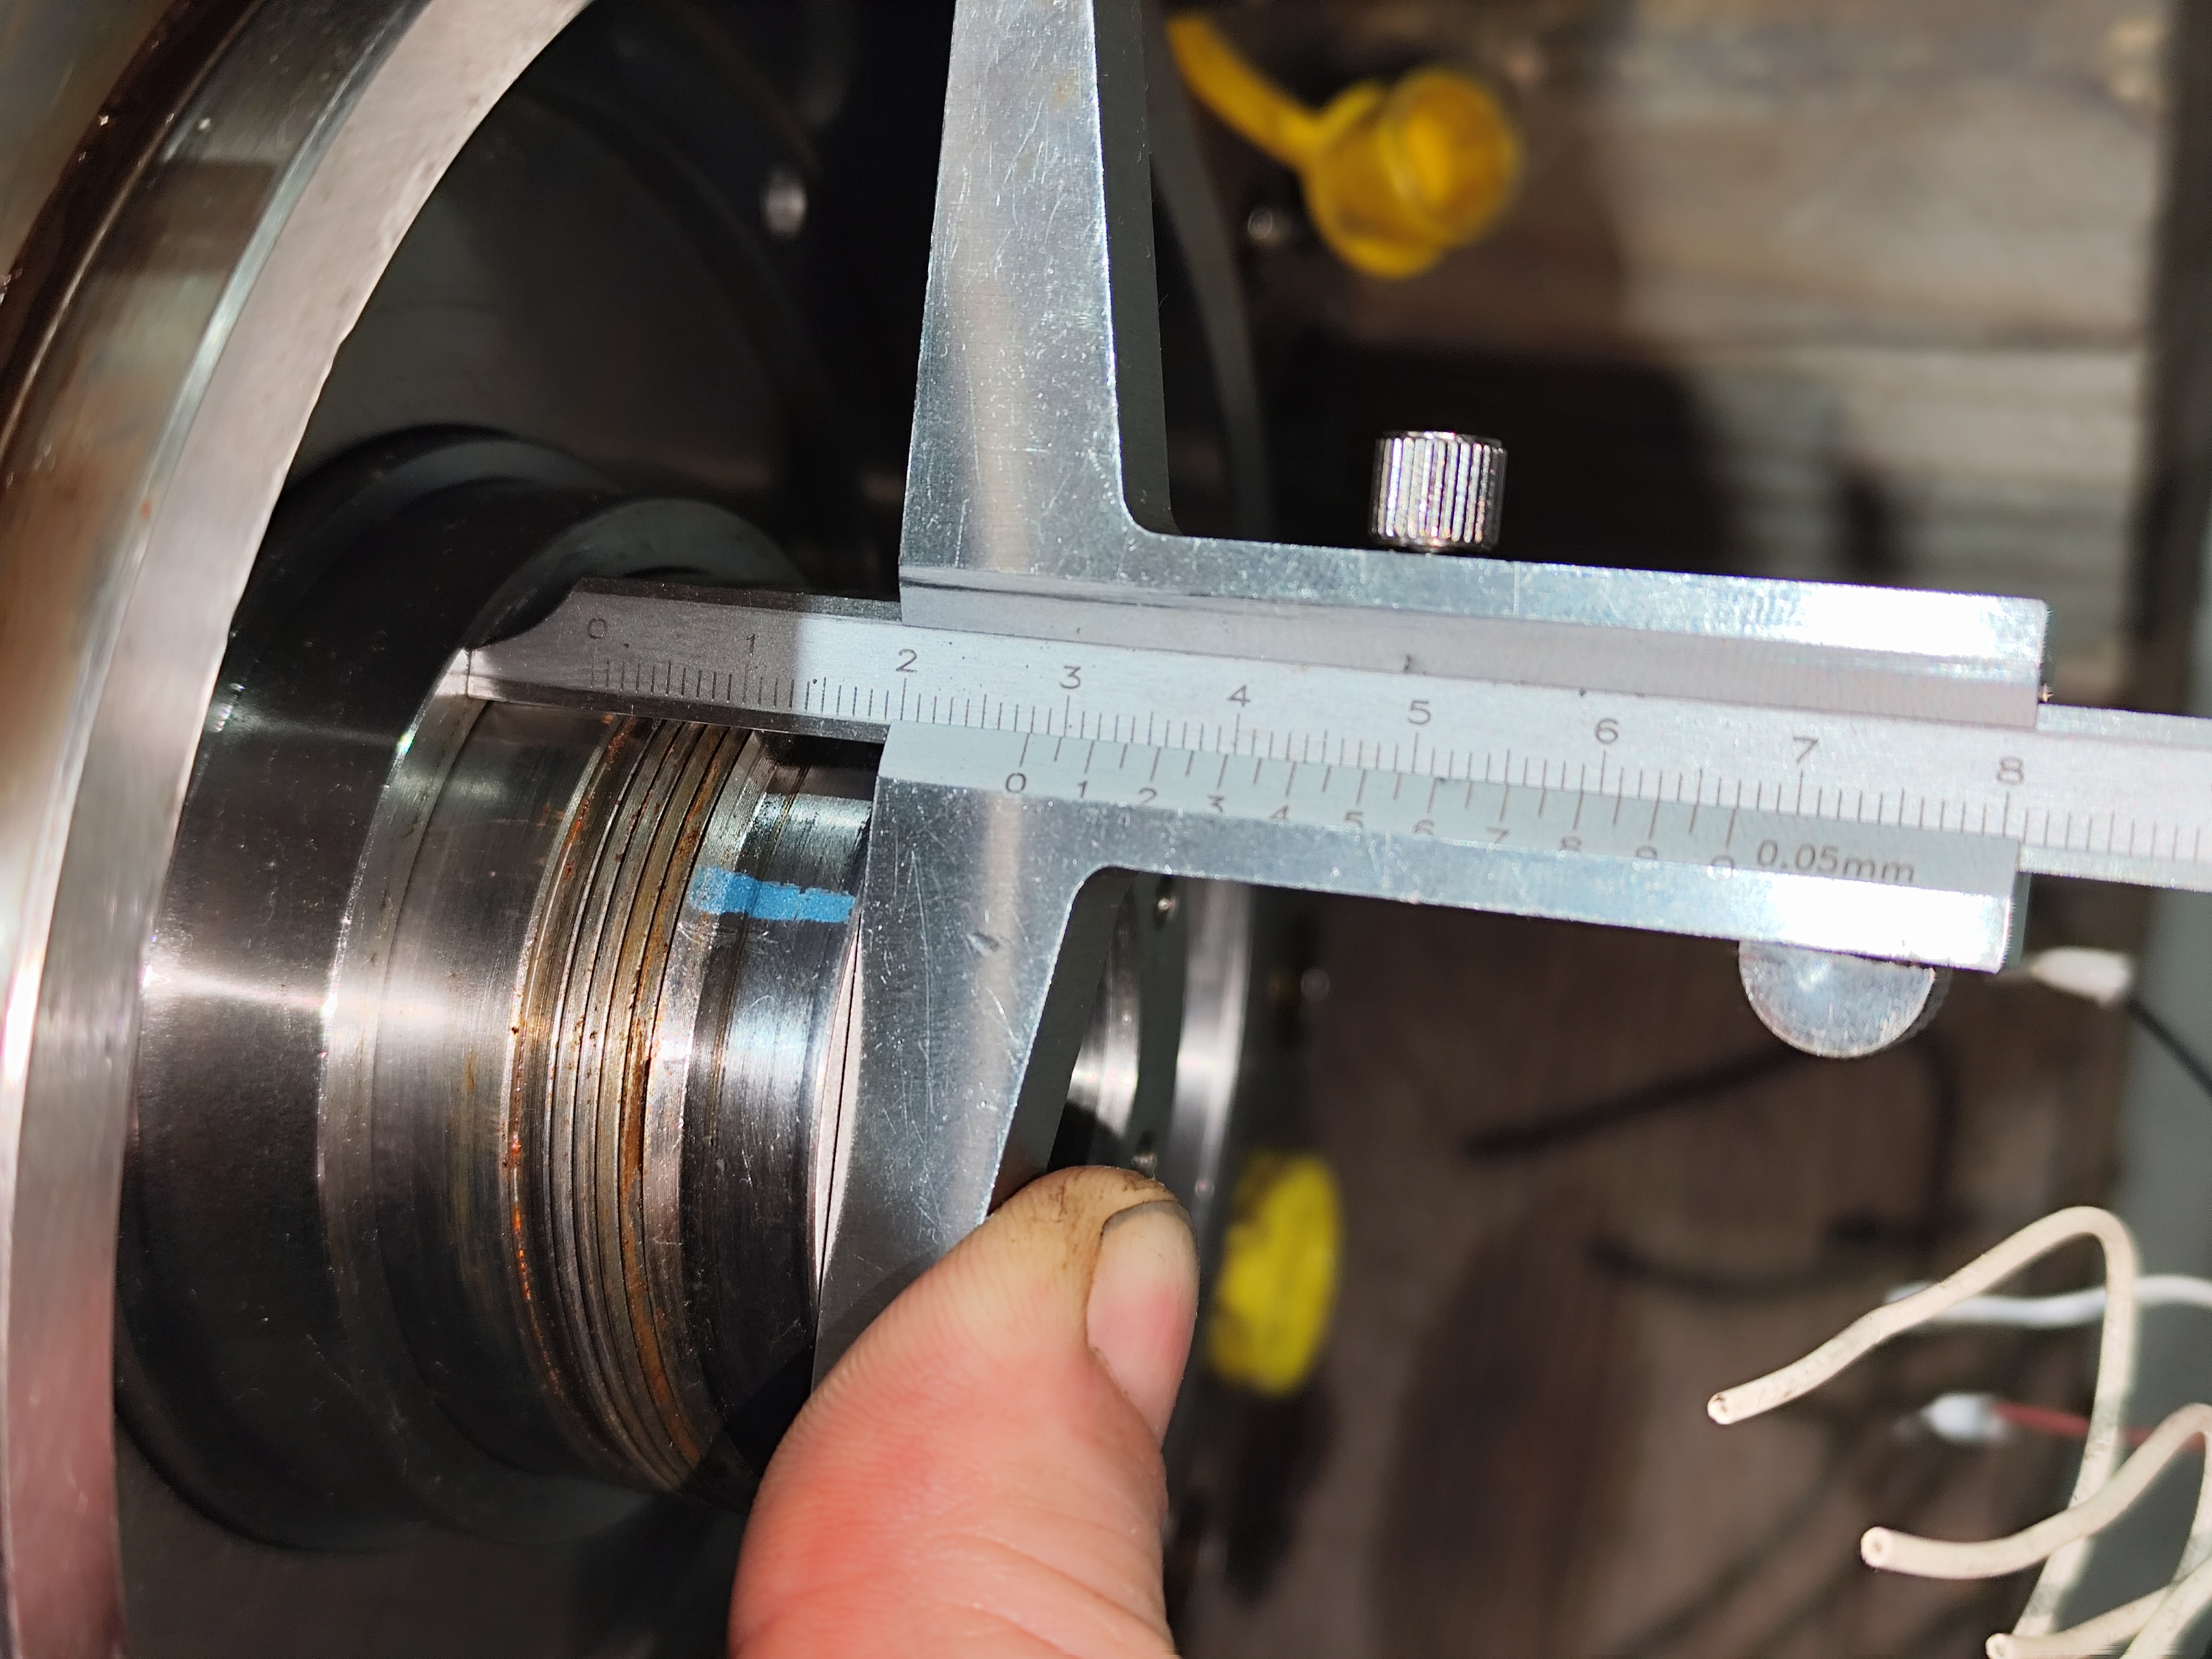
 The technicians then carried out the mechanical repair, which was great! They thoroughly cleaned all internal surfaces and replaced the damaged seals. The affected bearings were also replaced, so we’re all set! And when they needed it, spacers were manufactured to compensate for shaft erosion and restore the factory dimensions. At last, the gearbox and motor were meticulously reassembled, making sure everything was perfectly aligned. The great news is that the spindle was clear of play and turning tests showed that it was now operating without locking.
 As GDM’s technical channel helpfully pointed out, ‘this repair required thorough cleaning of the surfaces and replacement of all seals’. Amazingly, after these actions, the Redex 000.680.468 spindle was back to its best! I’m thrilled to tell you that GDM has published a step-by-step video on its LinkedIn channel which shows you exactly how to do it! You can access the video at the end of the article.
Professional maintenance.
The real-life case of the Redex spindle is a fantastic example of the importance of professional corrective maintenance. The intervention was a resounding success, restoring the shaft rotation and sparing the equipment from complete replacement. This would have led to extended downtime and higher costs, but thanks to the intervention, all that was avoided. This example is a great example of how important it is to spot rust, debris or leaks early on. If you do this by checking things regularly and doing visual inspections, you can prevent serious damage.
Have you encountered any issues with your mandrins? Get in touch today and we’ll make your mandrin feel brand new!